New!
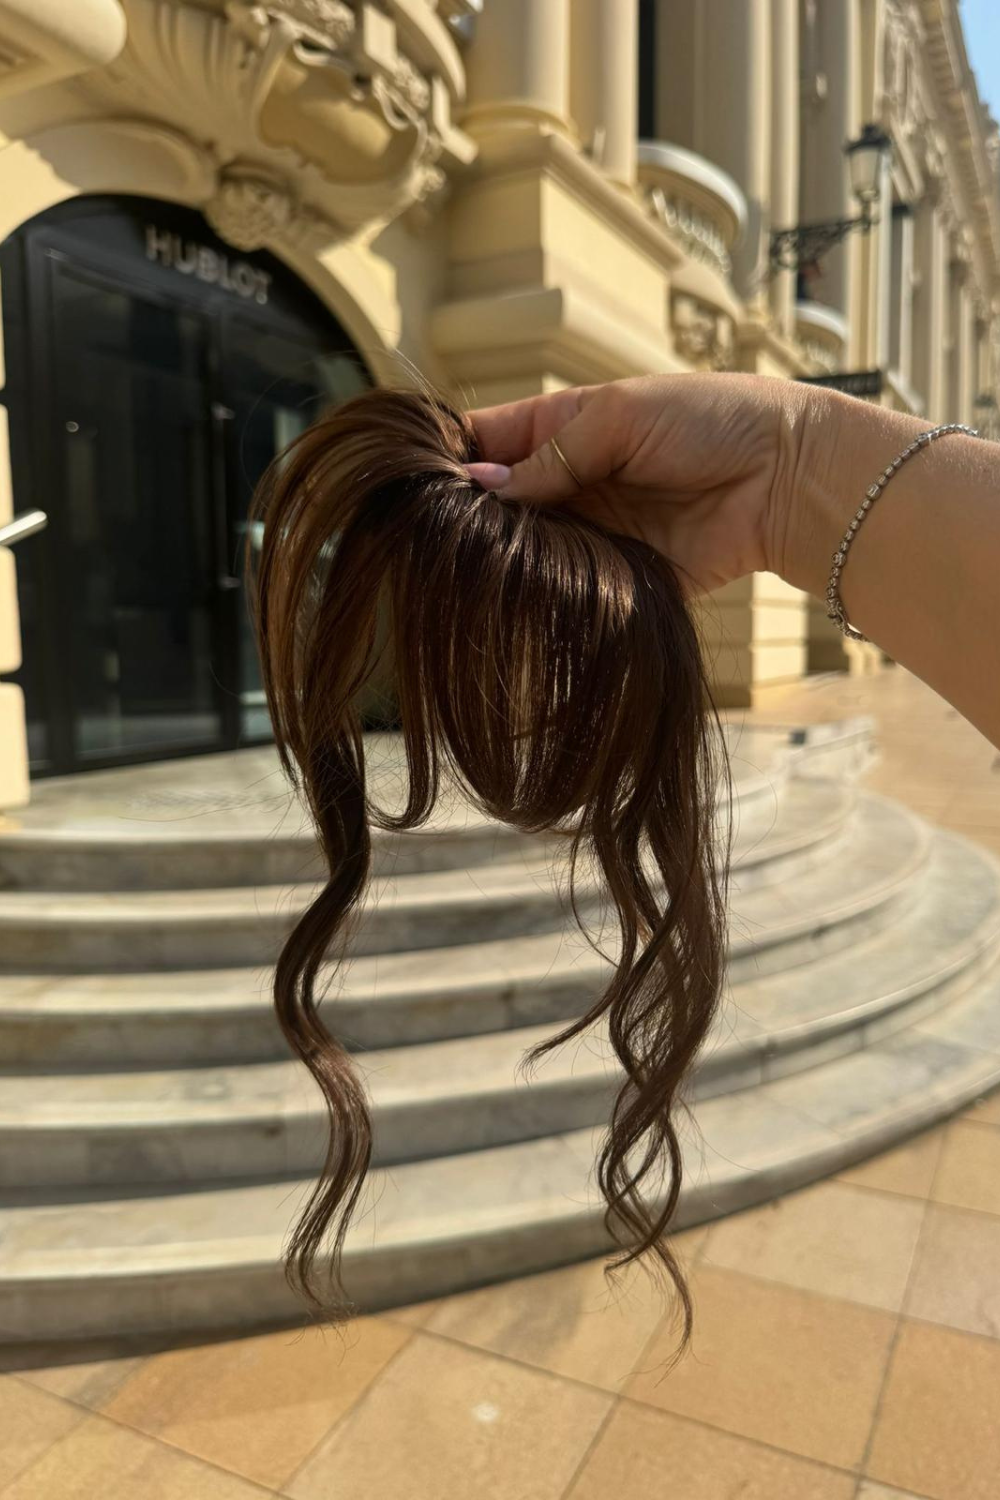
Gefiederter Pony mit Clip zum Einstecken
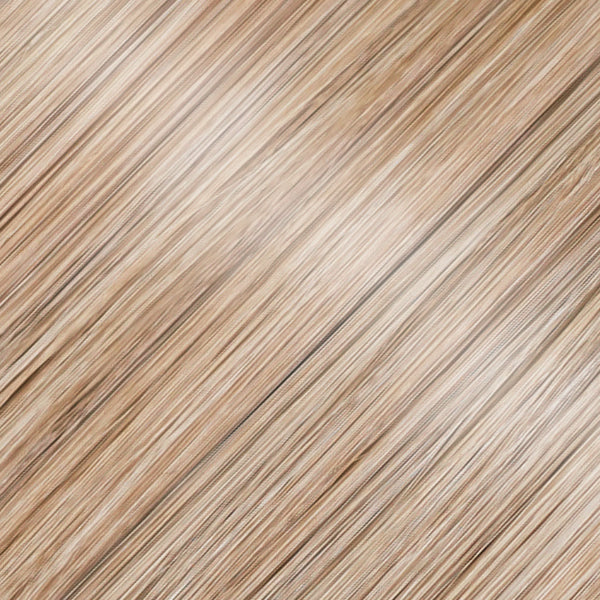
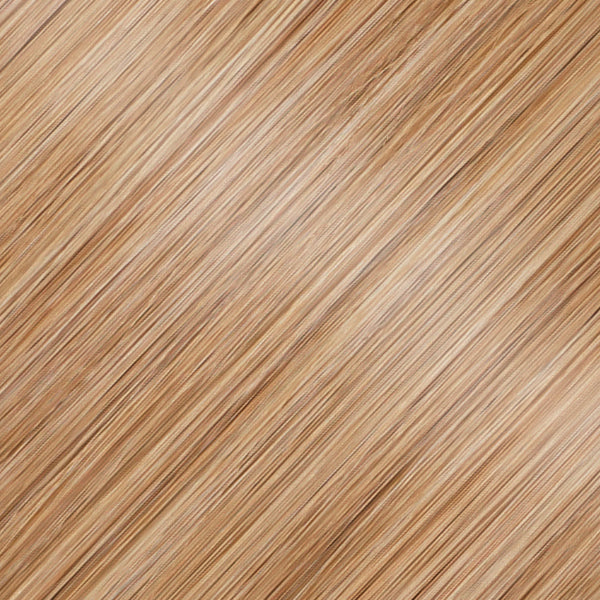
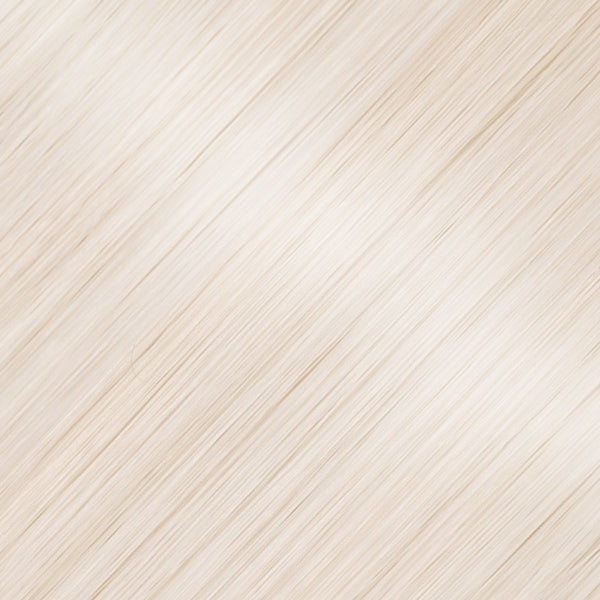
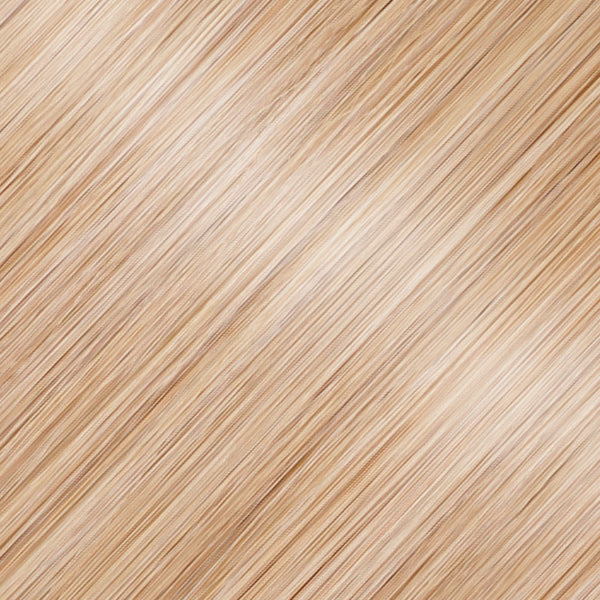
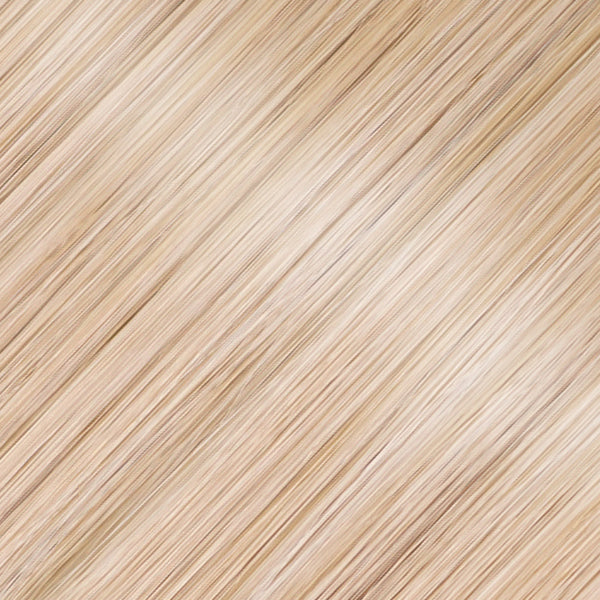
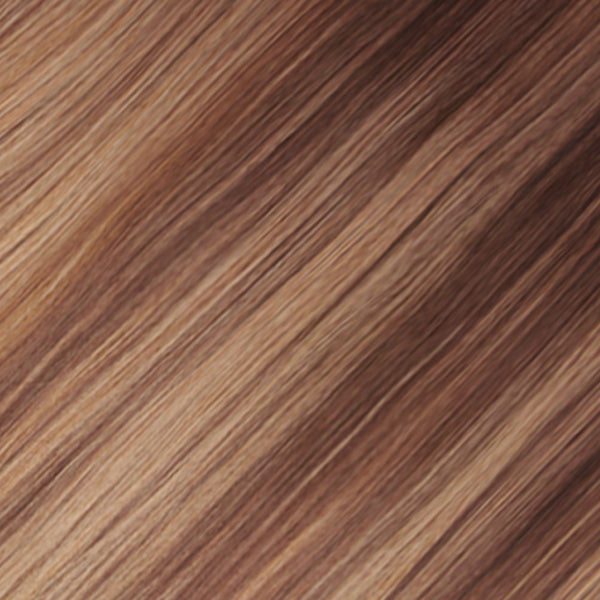
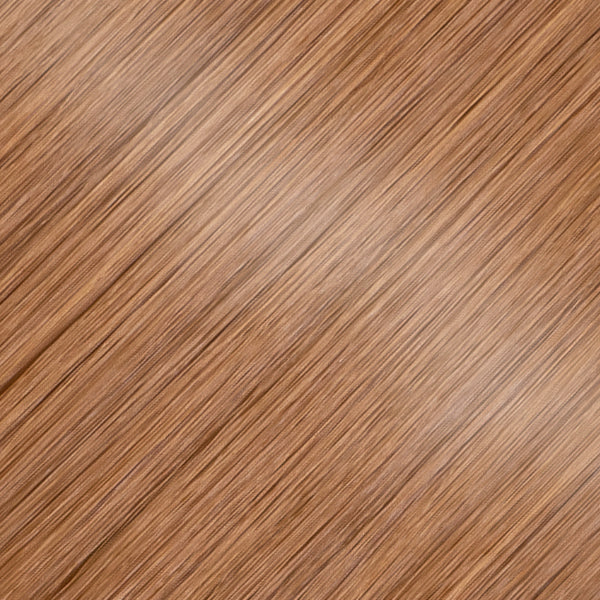
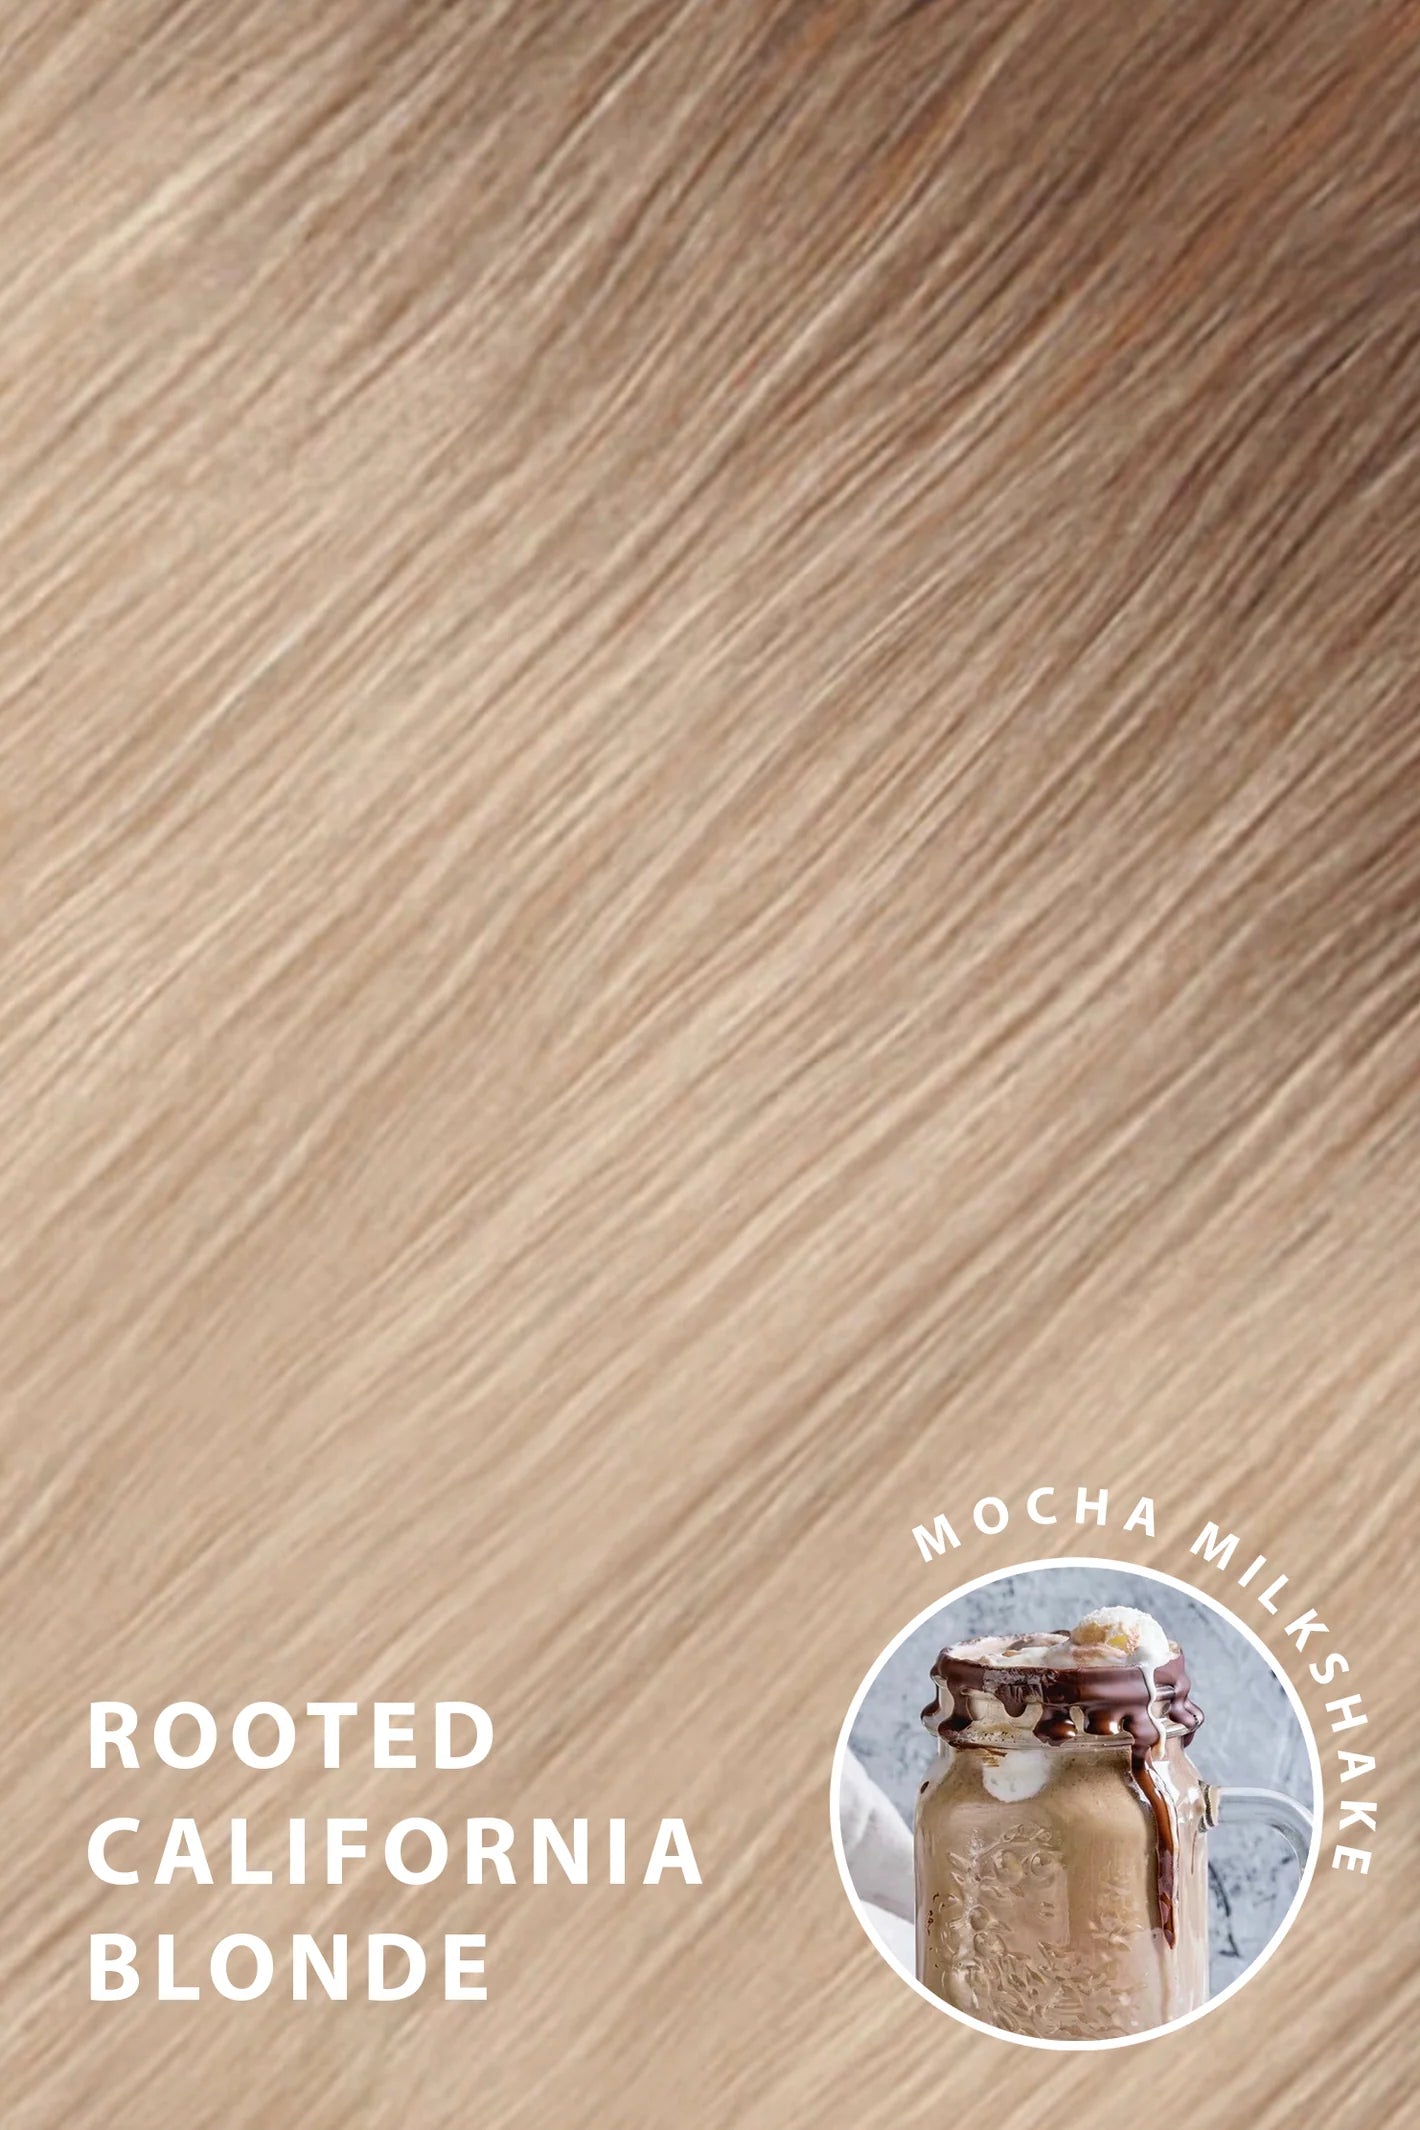
kalifornische blonde
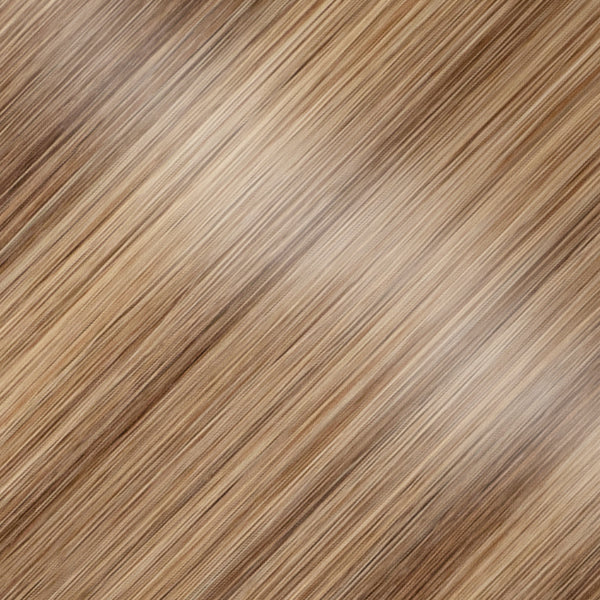
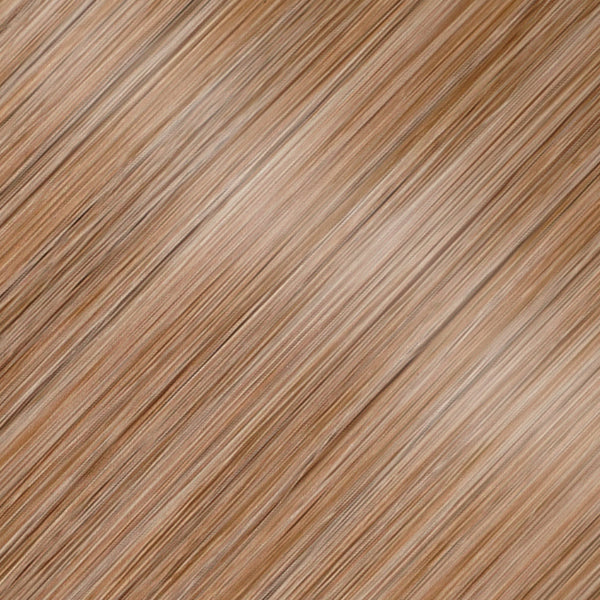
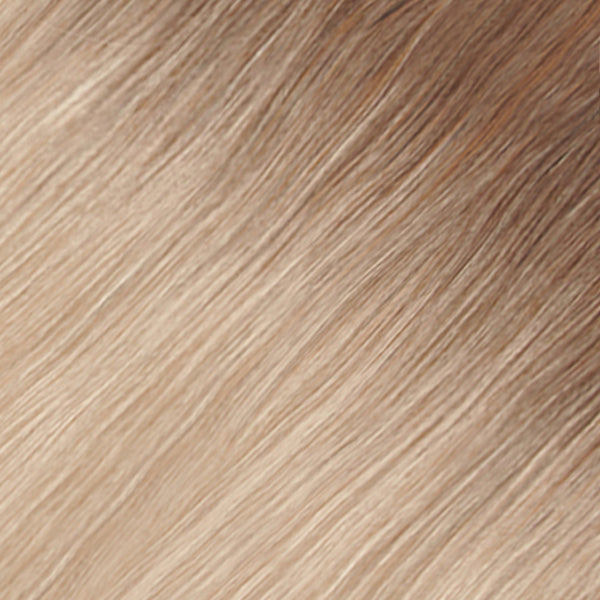
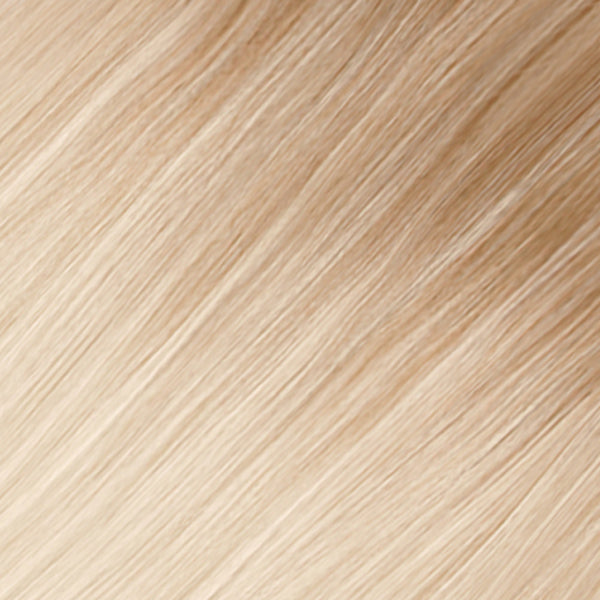
verwurzelt kalifornische blondine
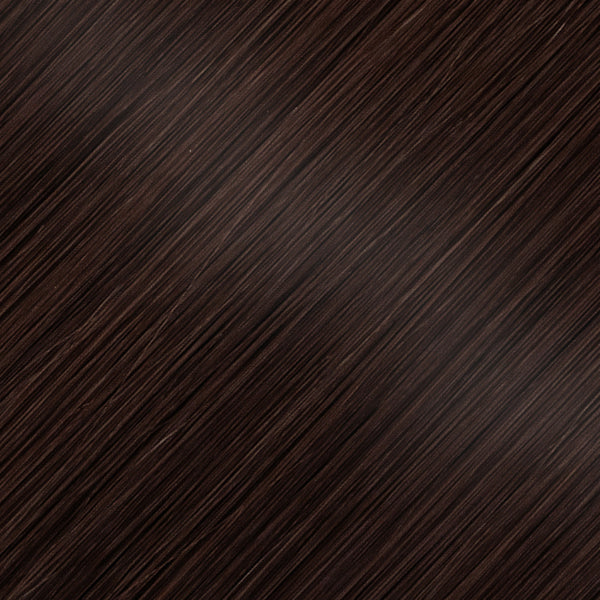
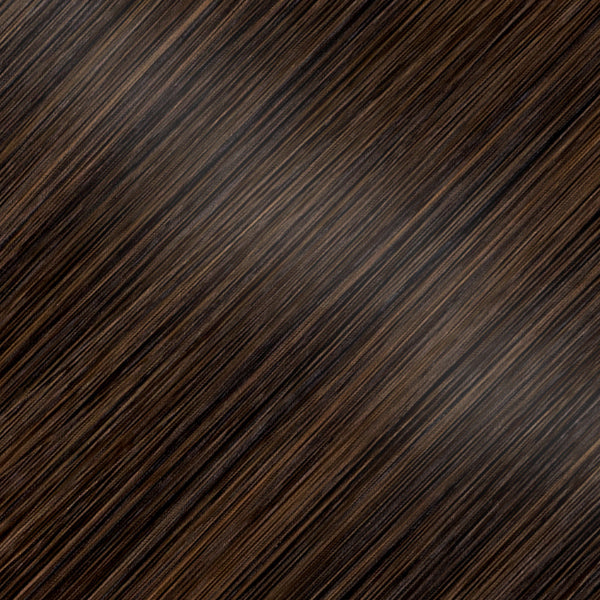
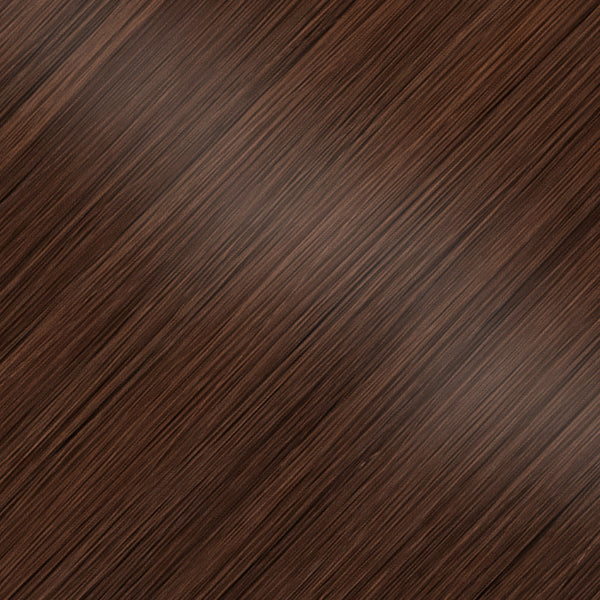
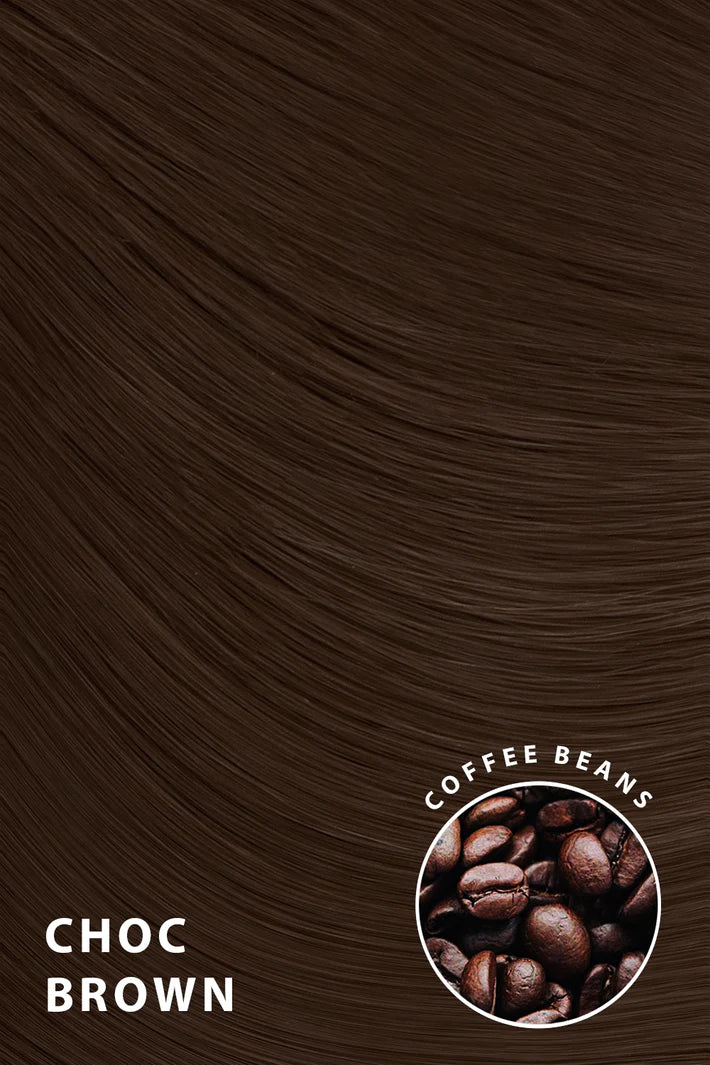
schokoladenbrau
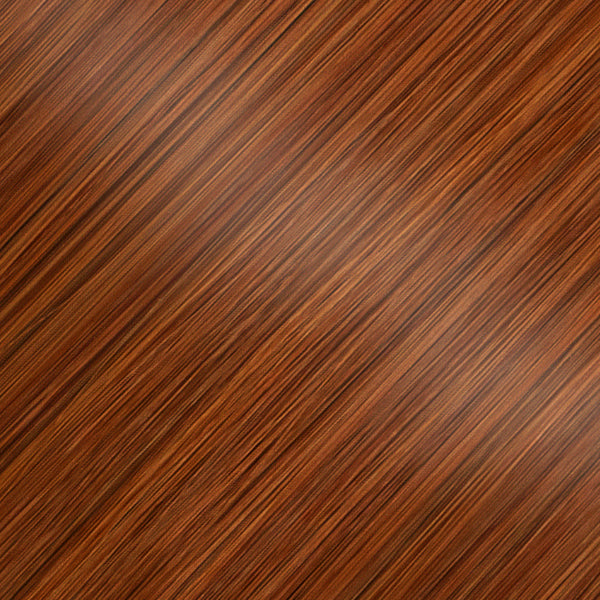
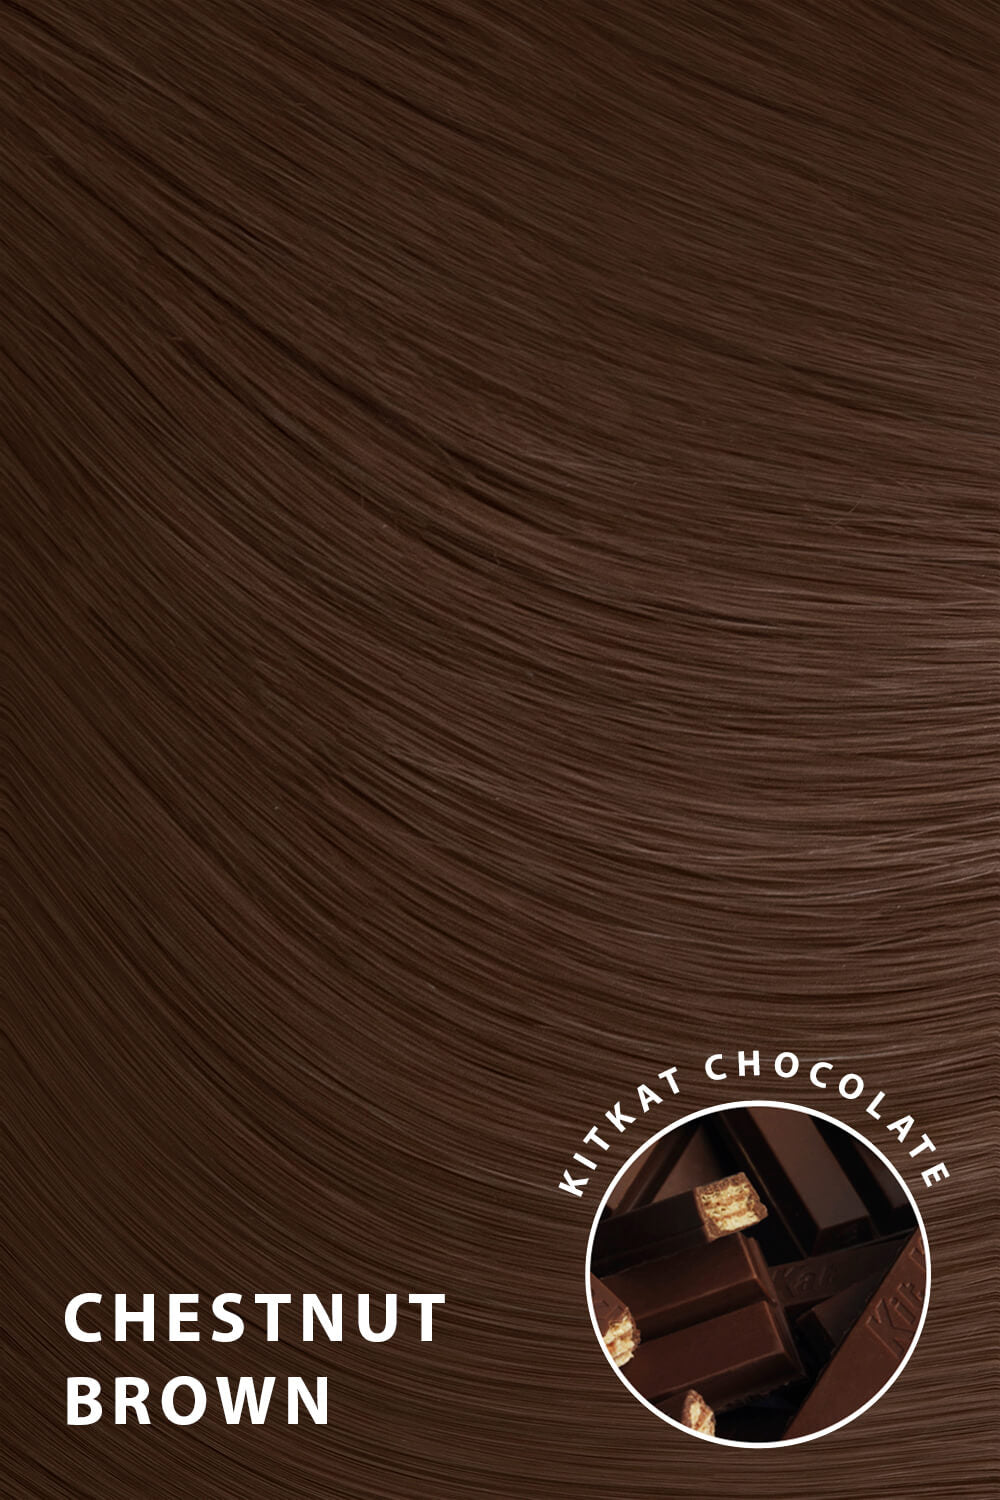
kastanie
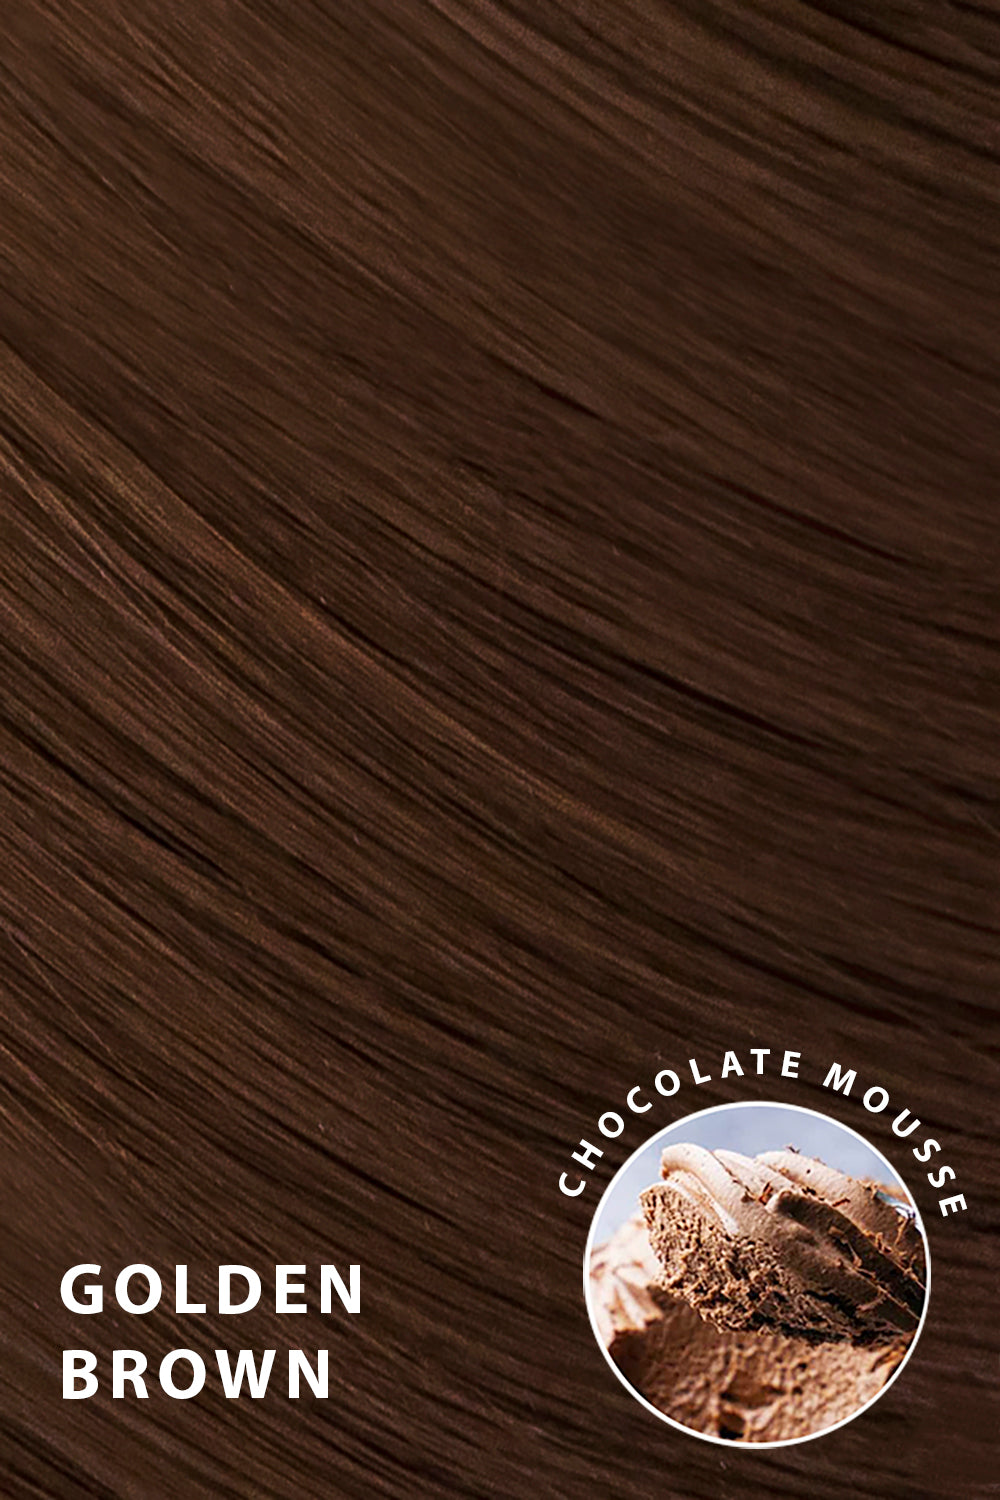
goldbraun
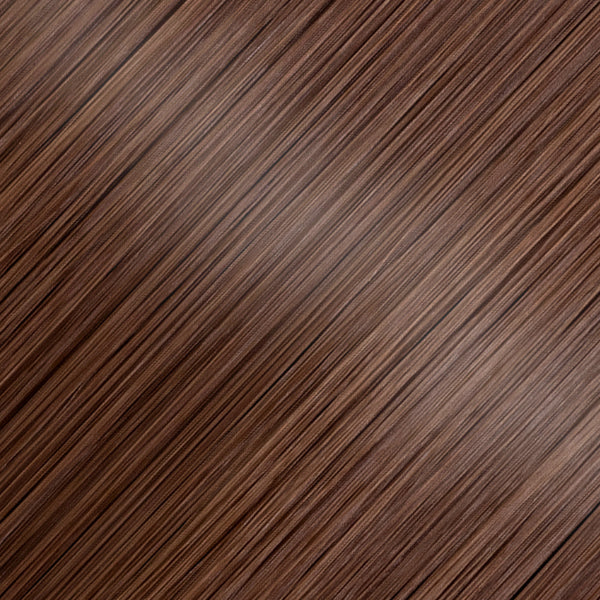
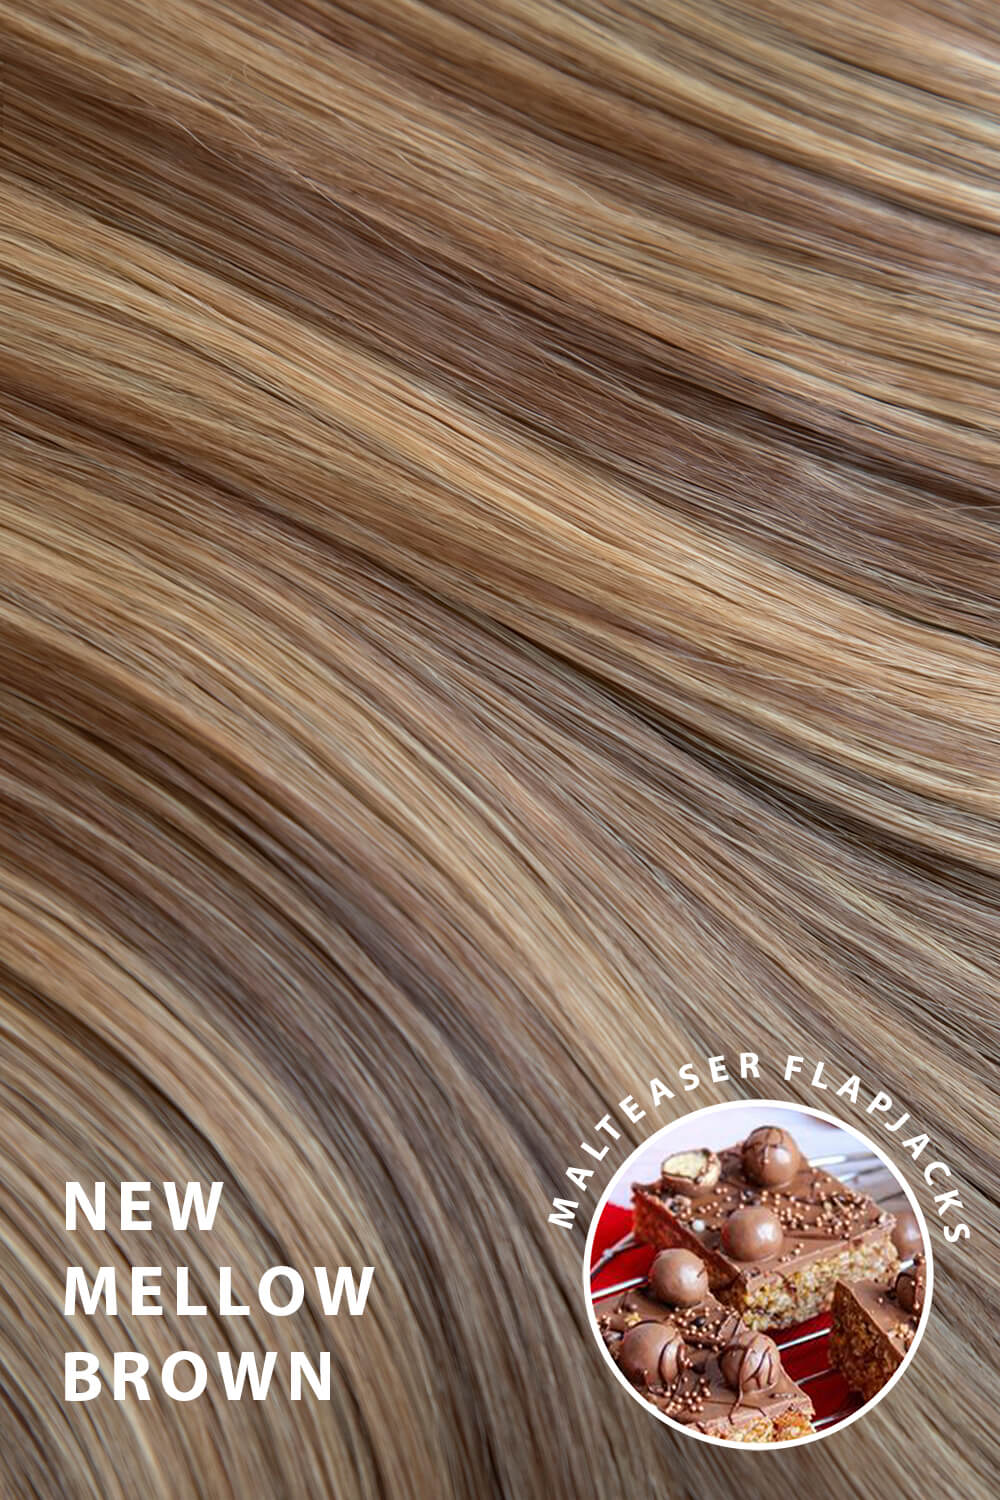
sanftes braun
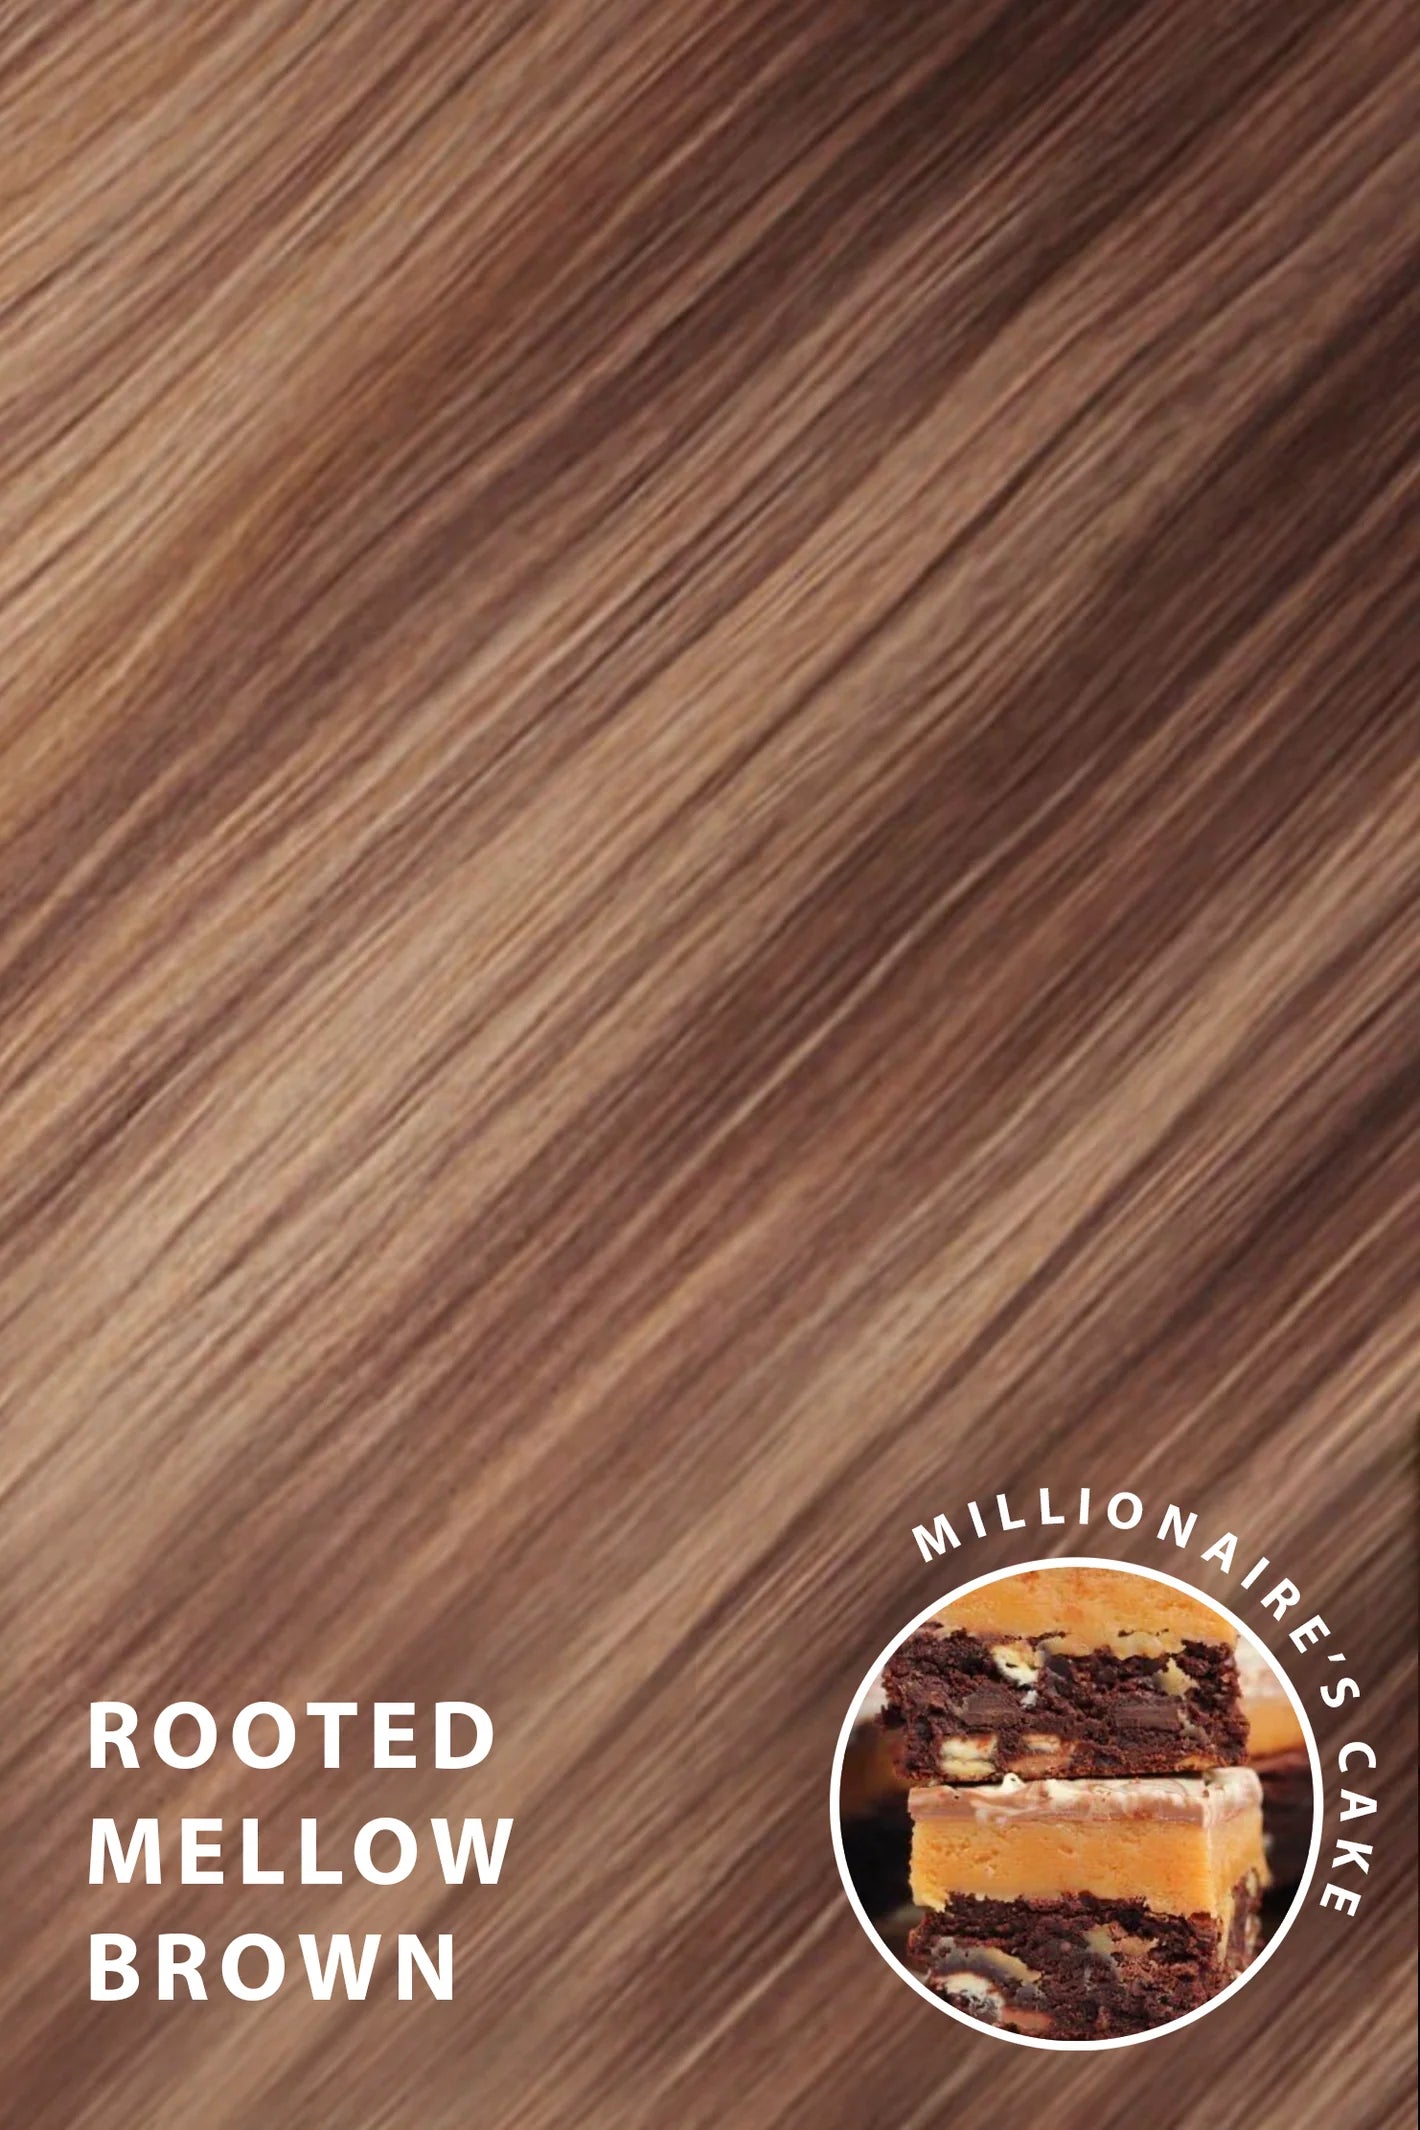
verwurzeltes mildes braun
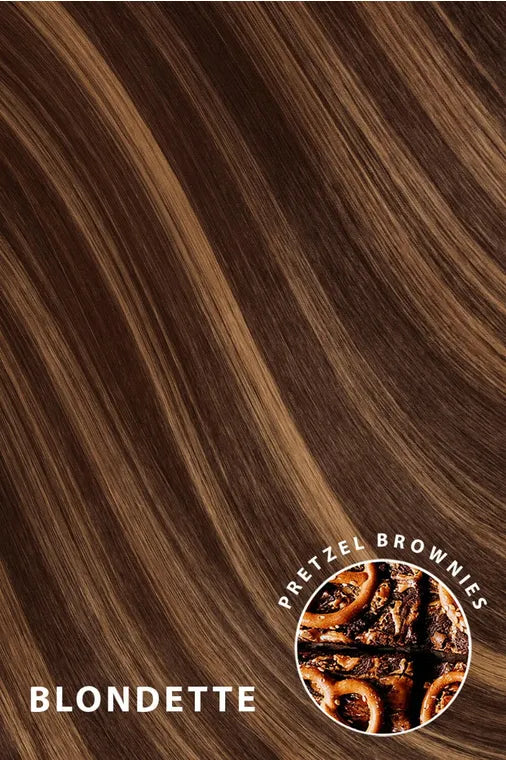
blondette
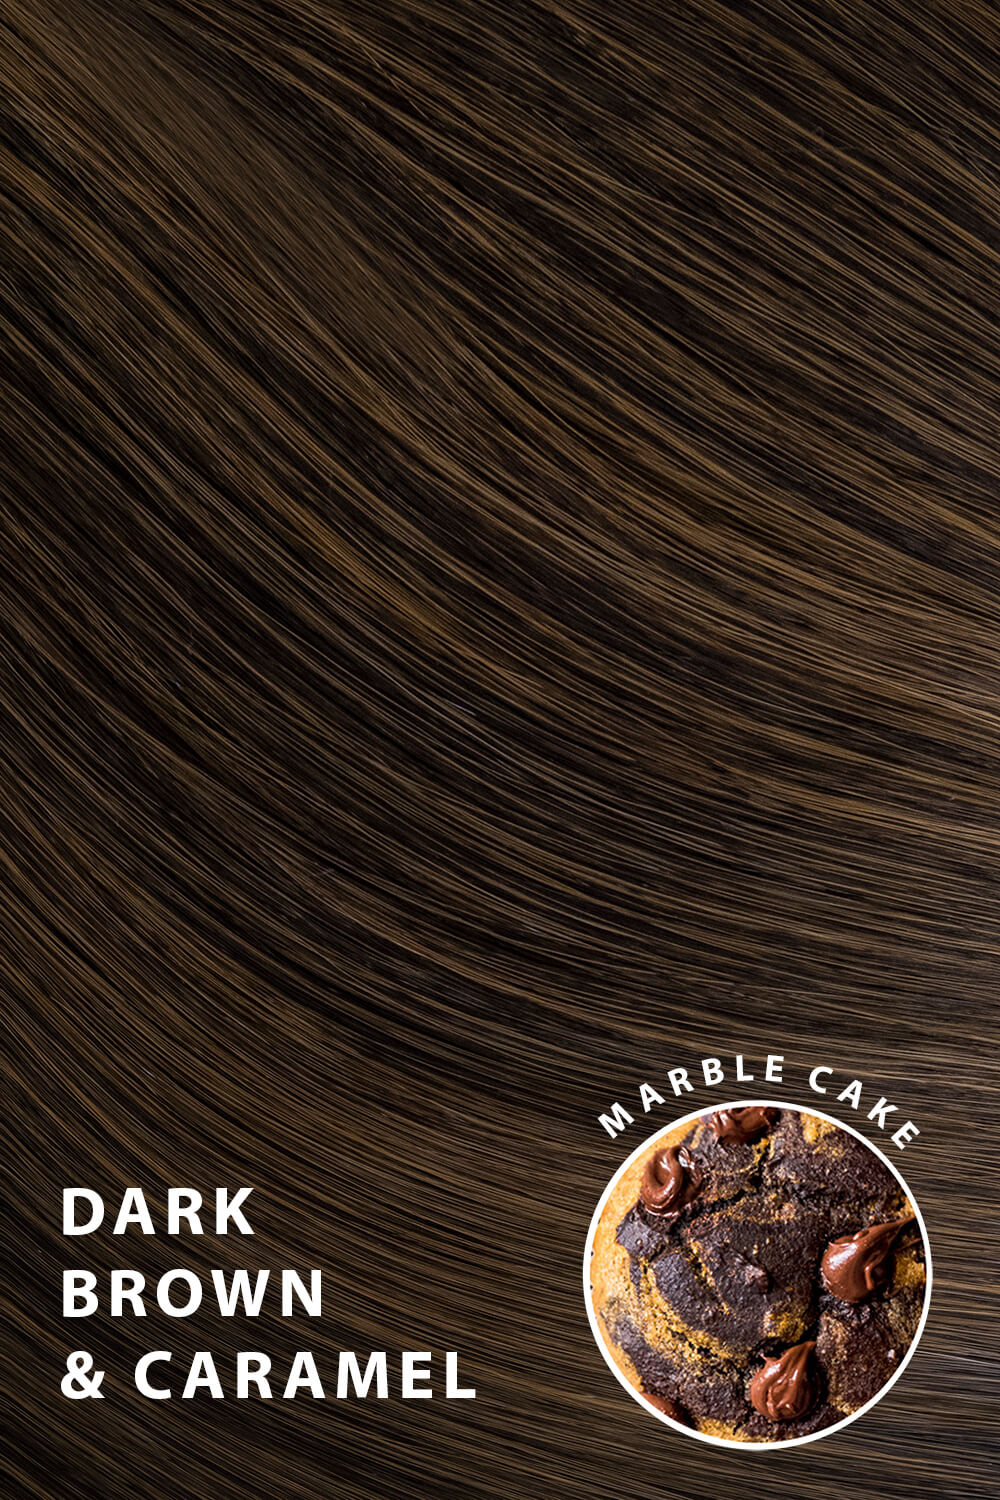
dunkelbraun karamell
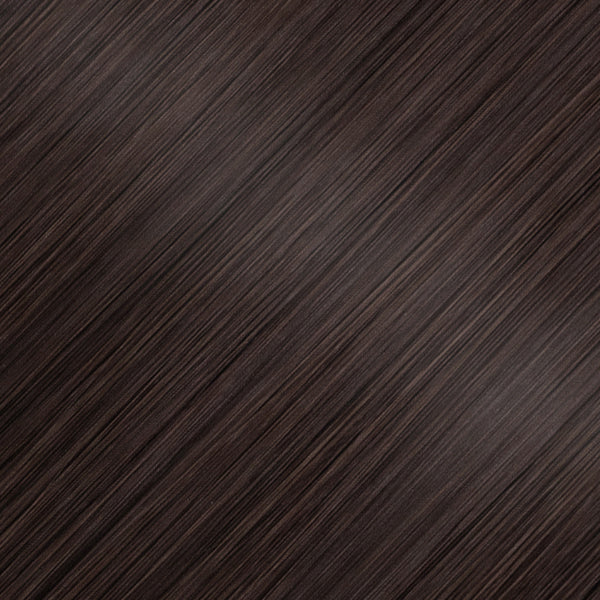
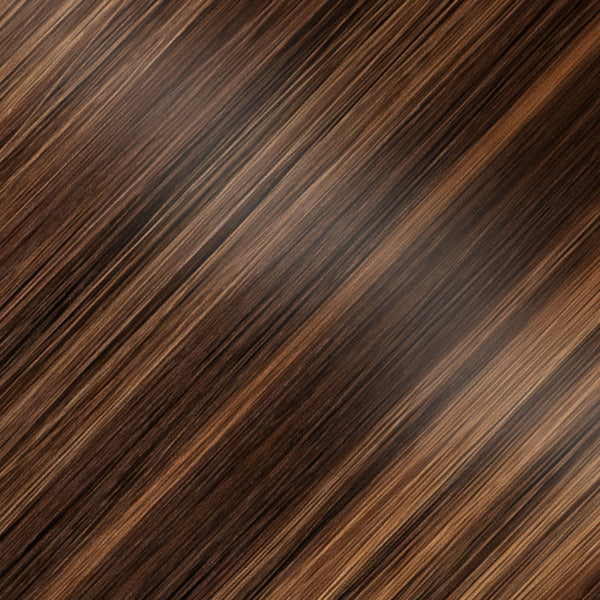
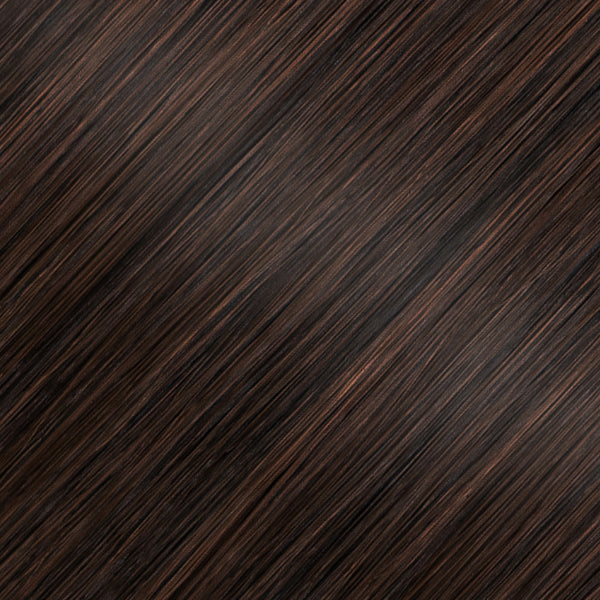
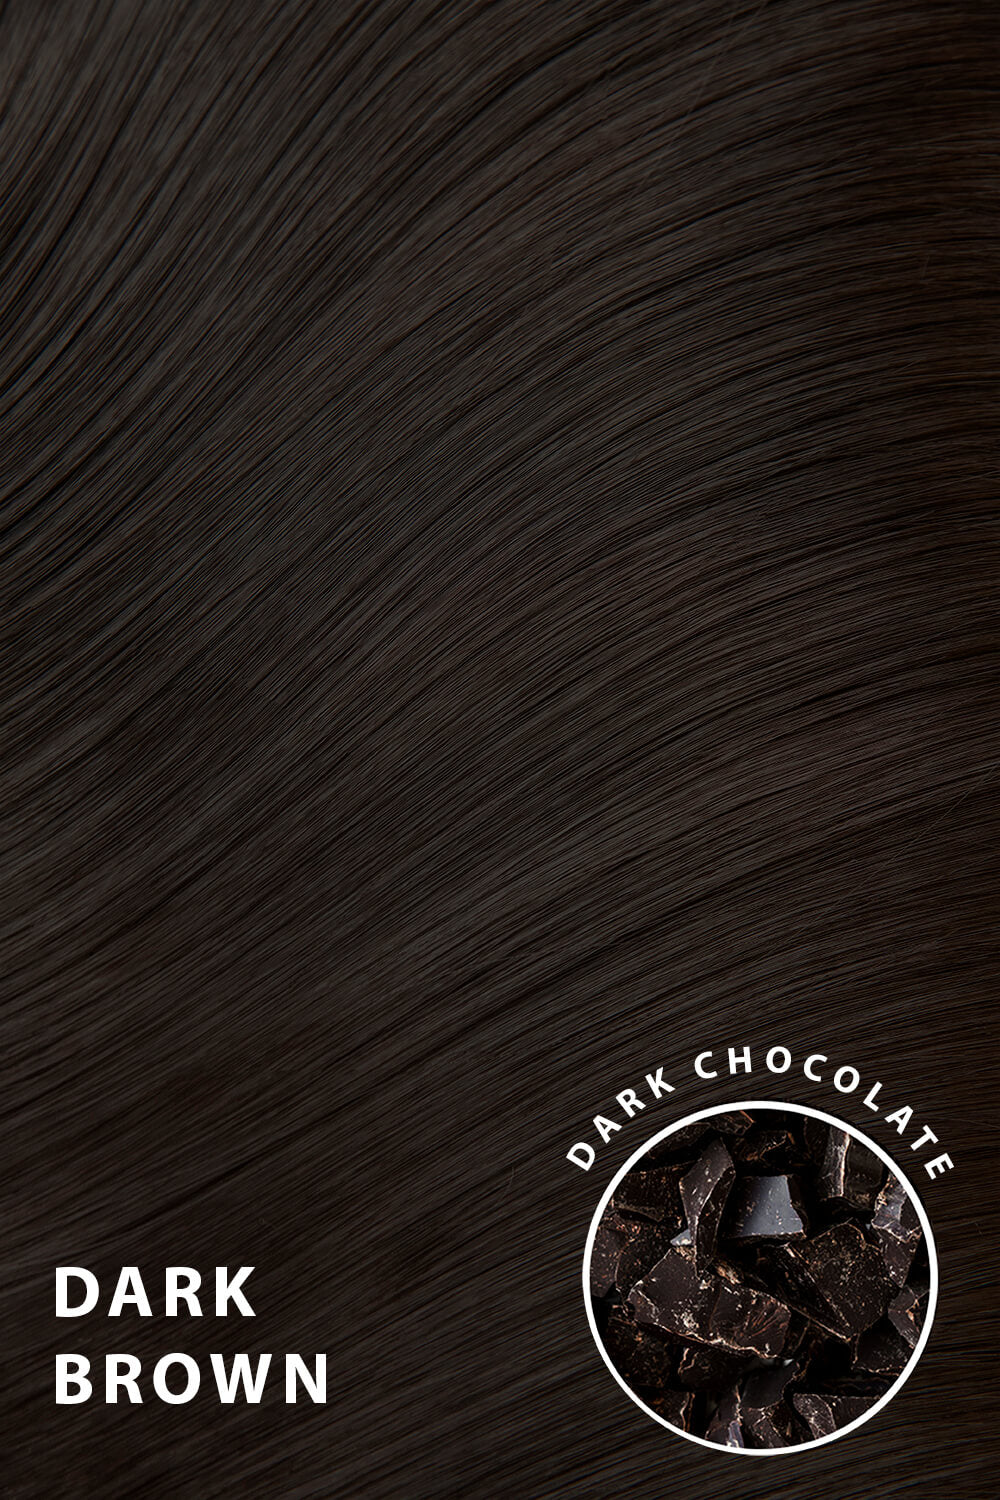
dunkelbraun
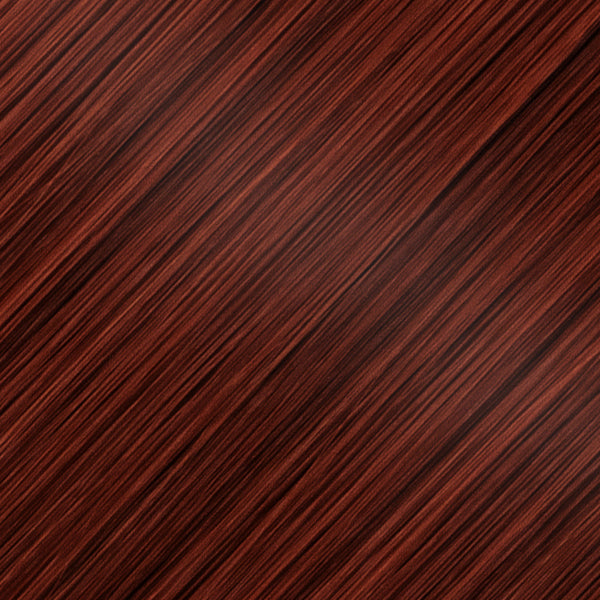
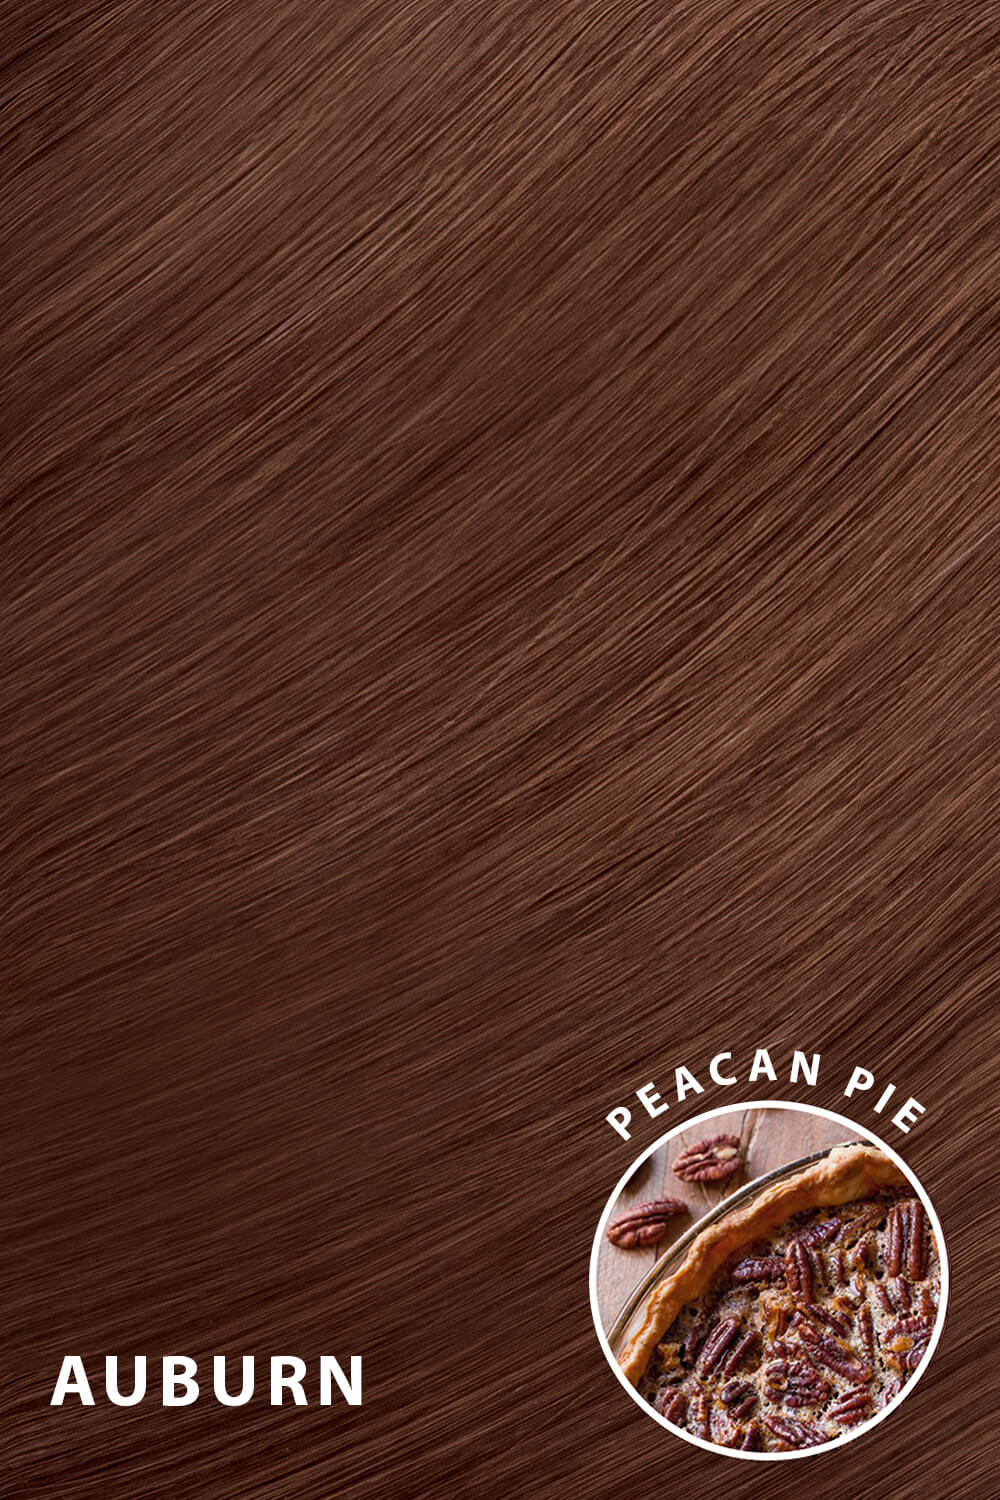
auburn
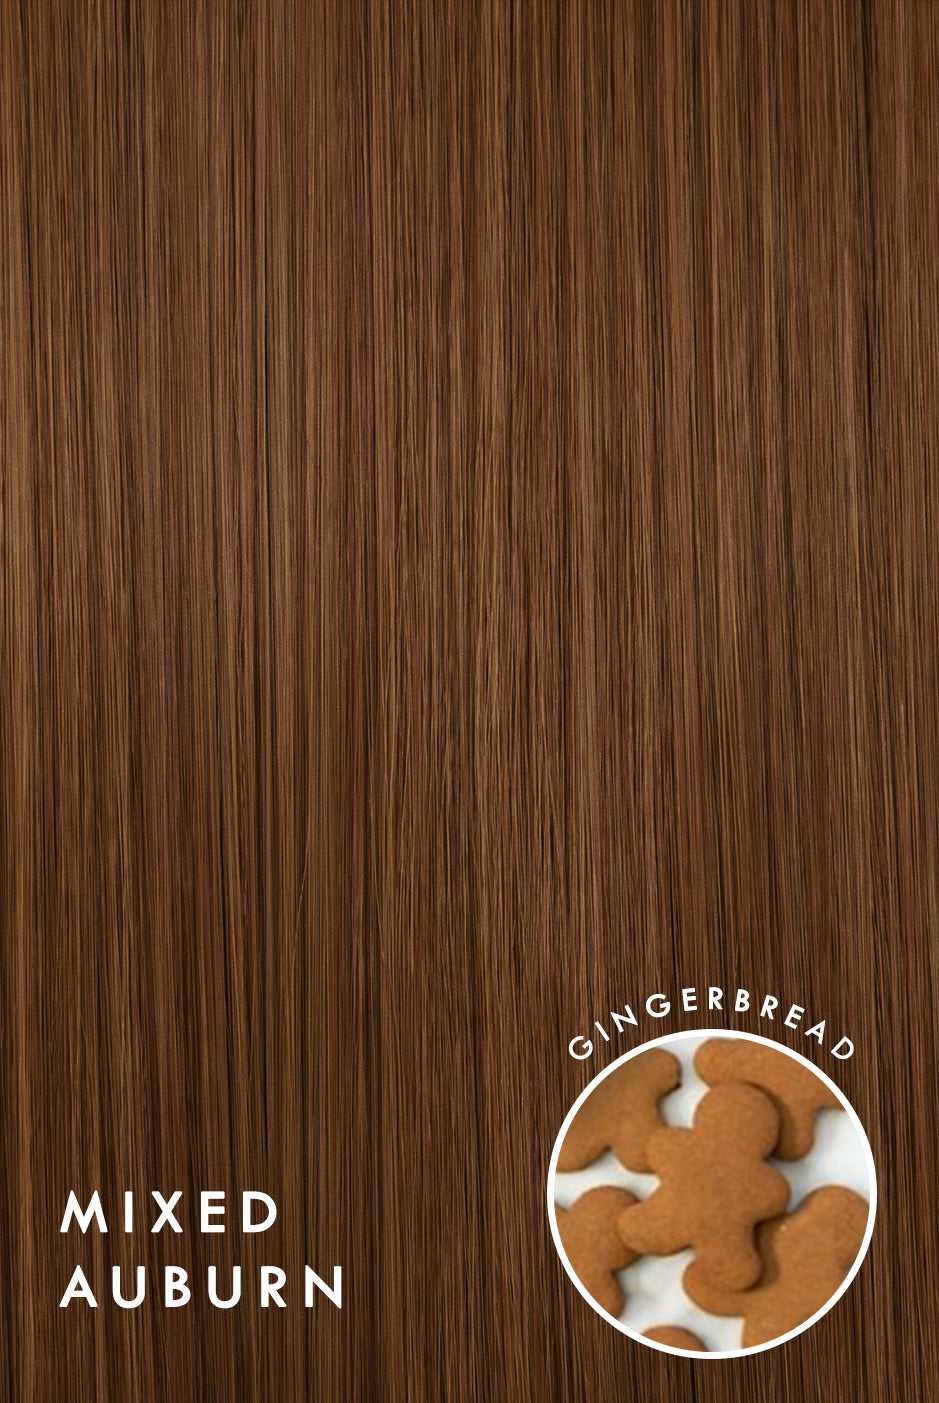
mischung aus kastanienblau
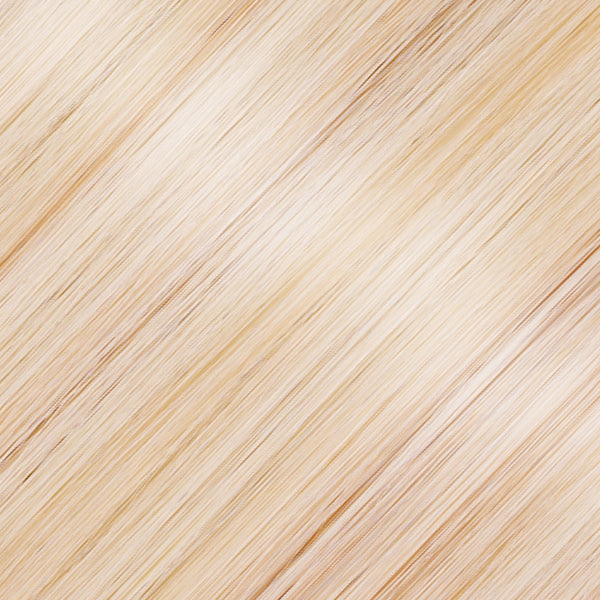
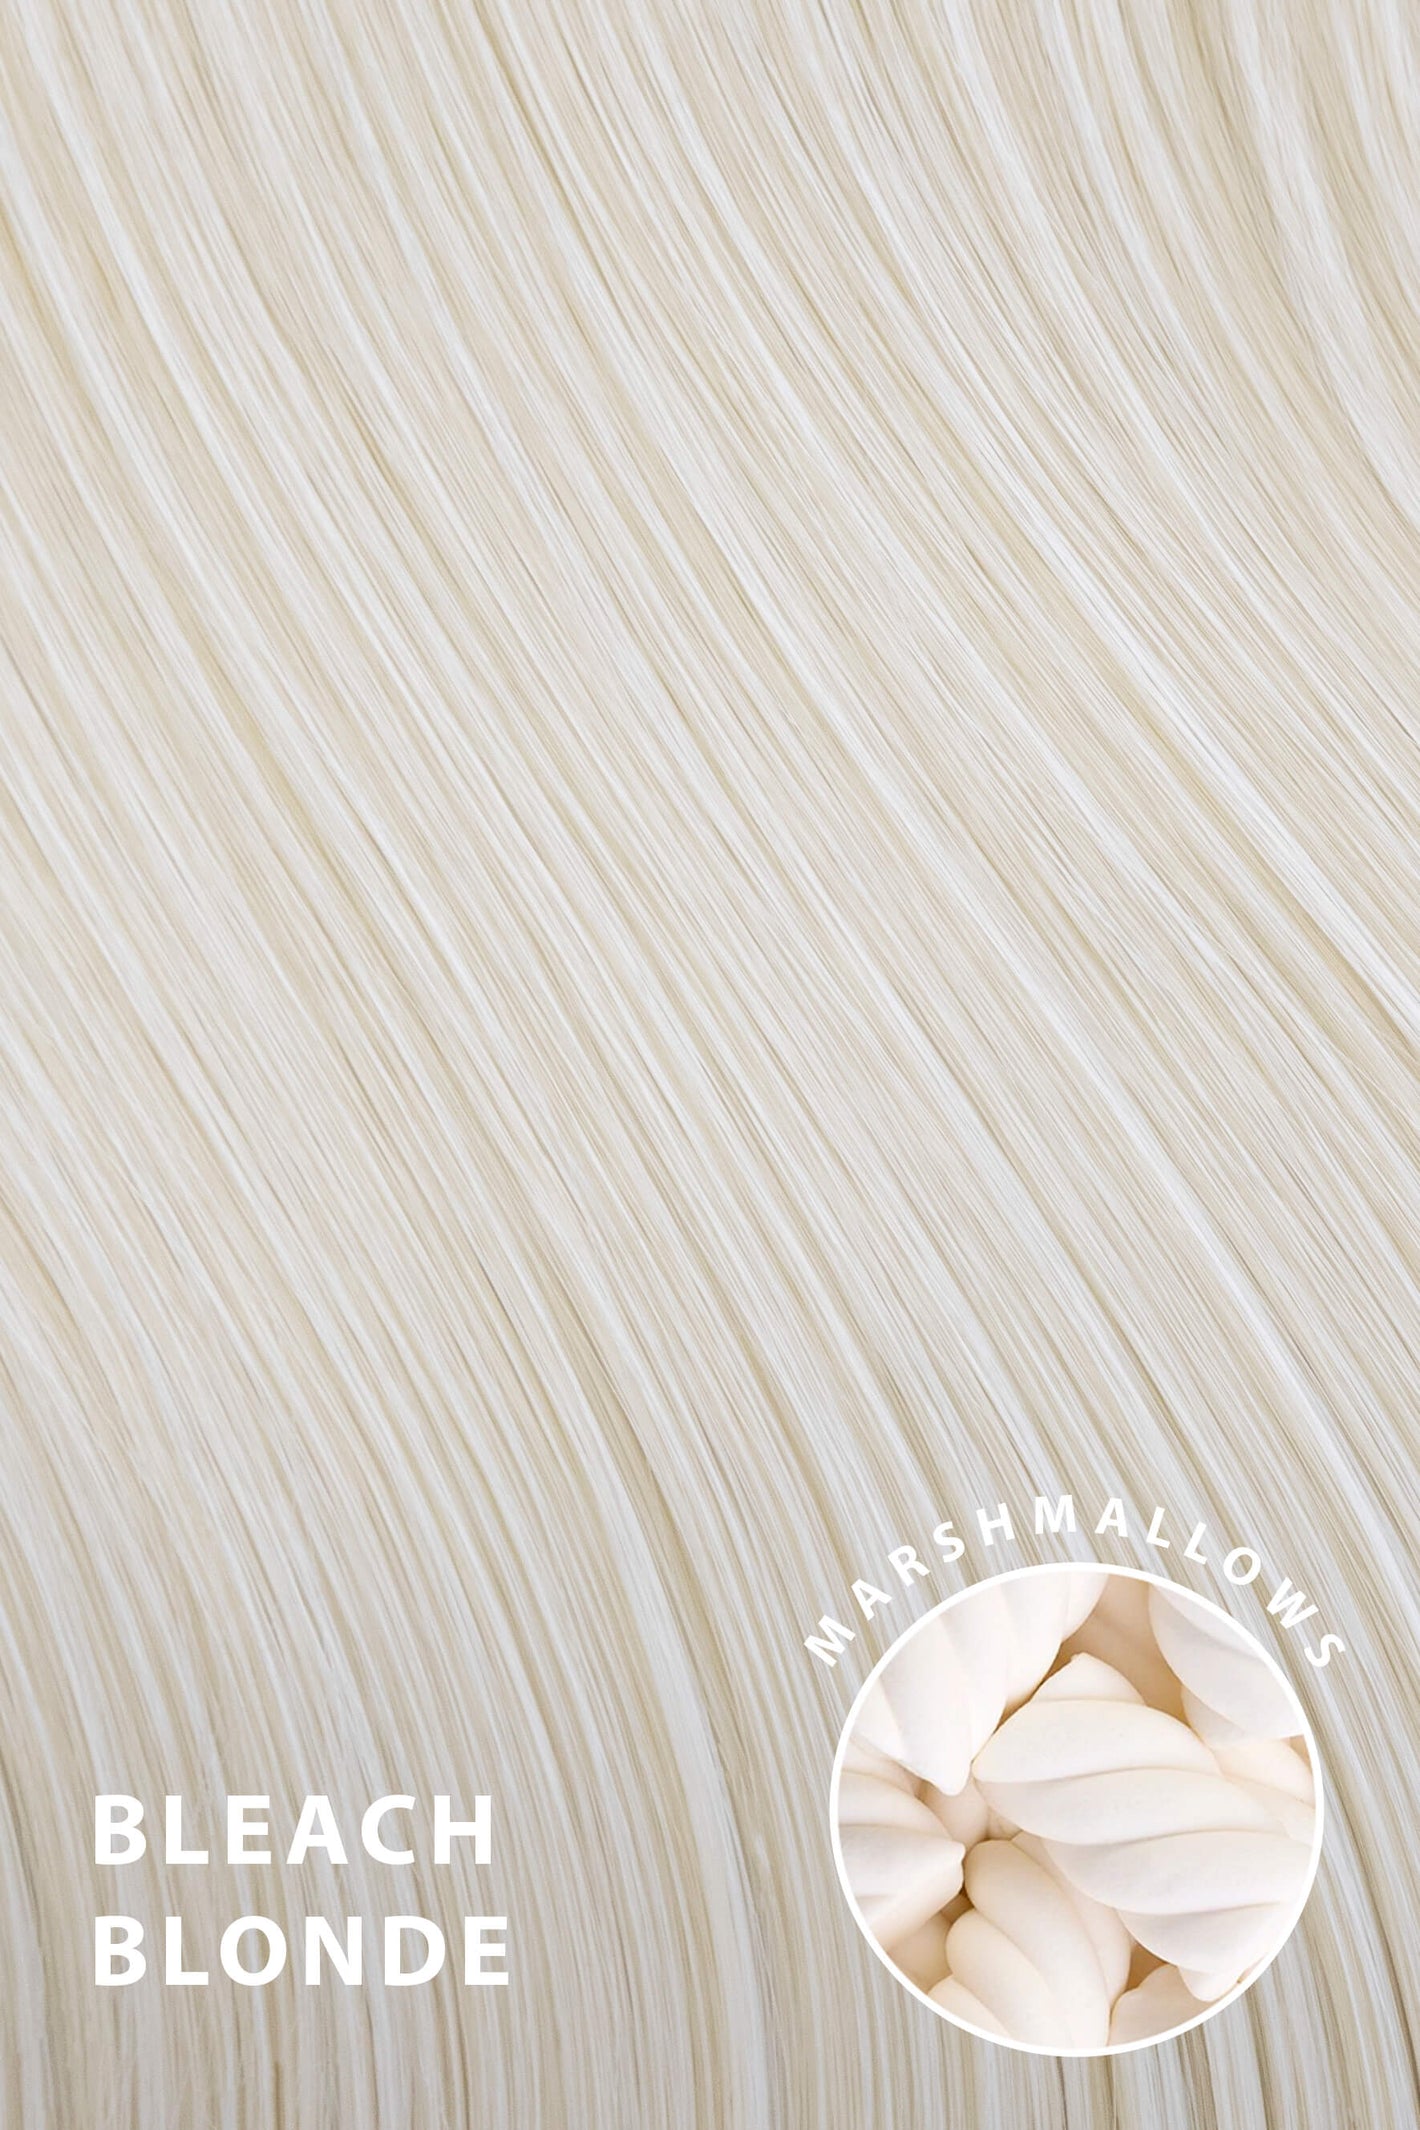
gebleichtes blond
hellblond
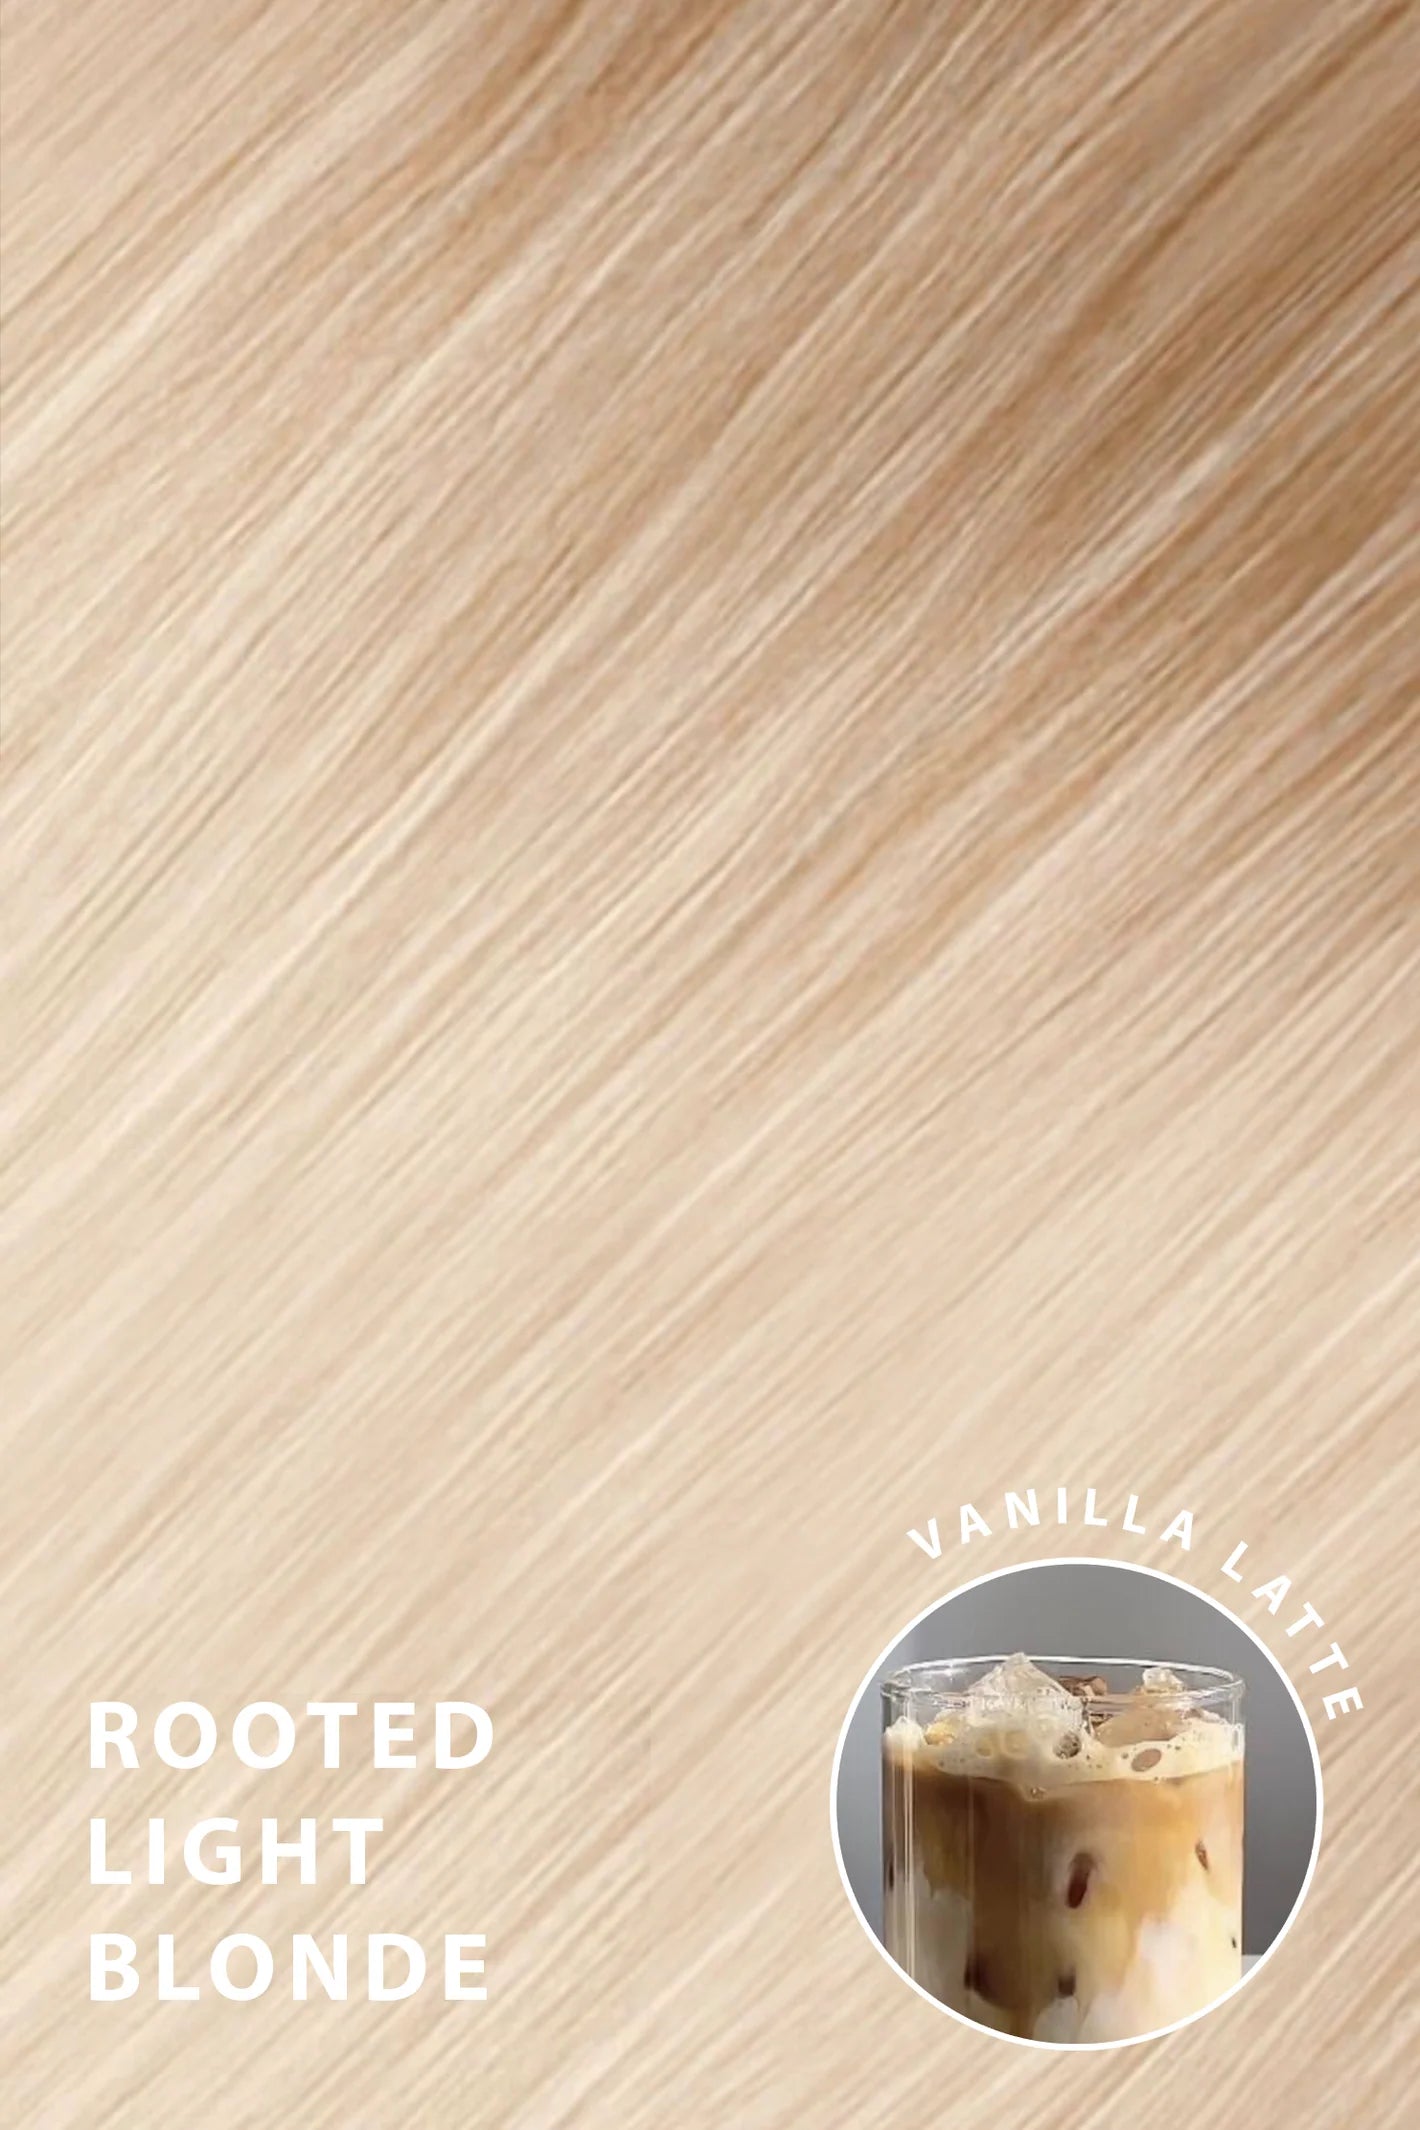
verwurzeltes hellblond
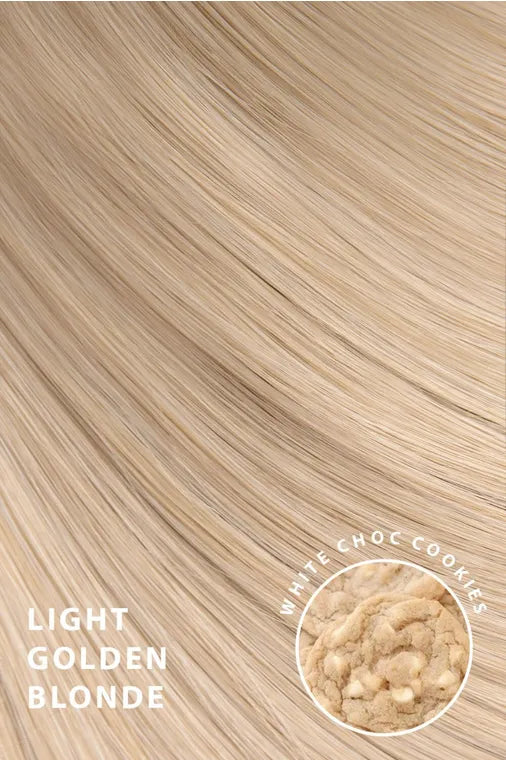
hellgoldblond
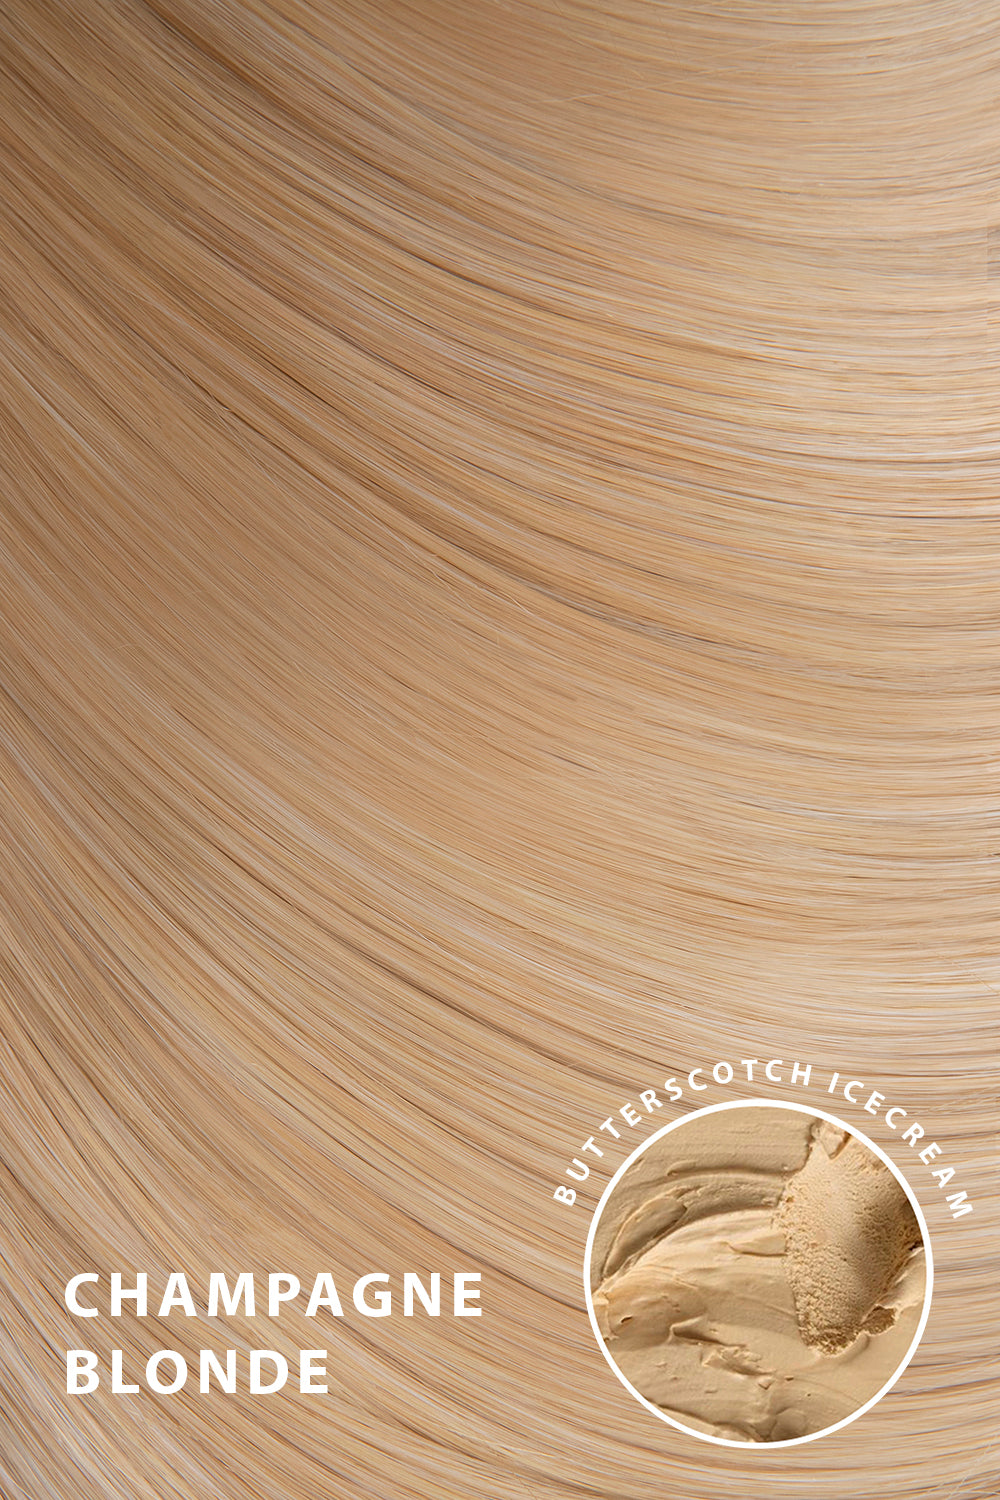
champagnerblond
goldblond
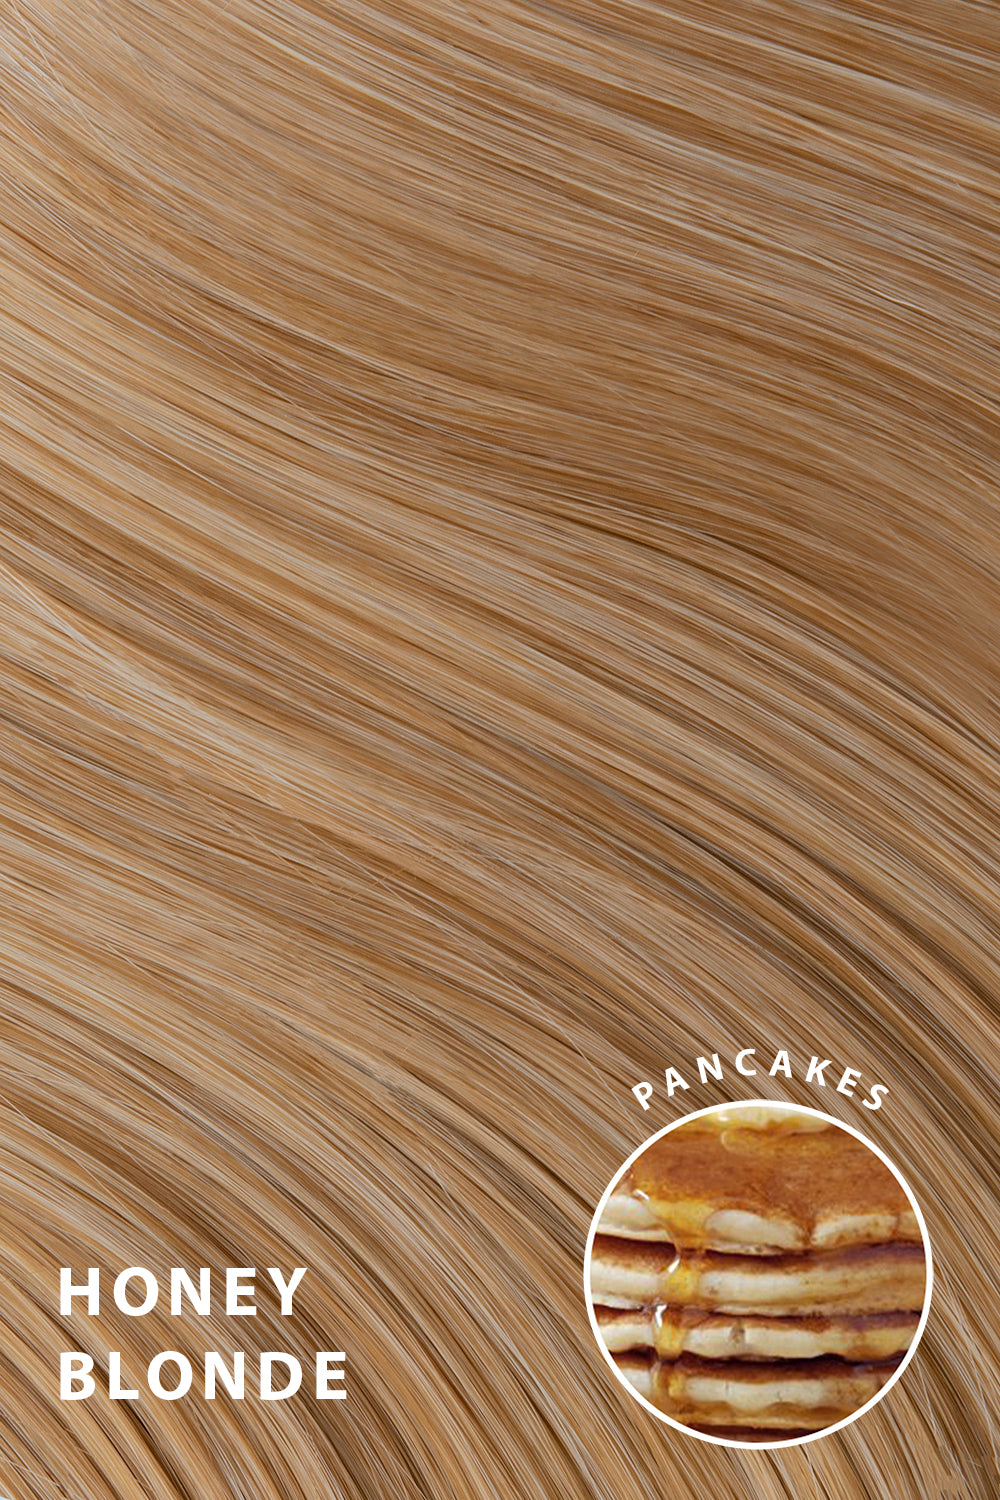
honigblond
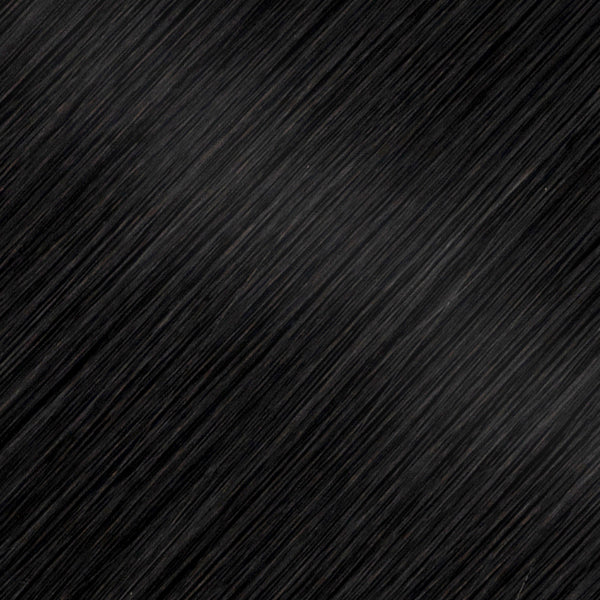
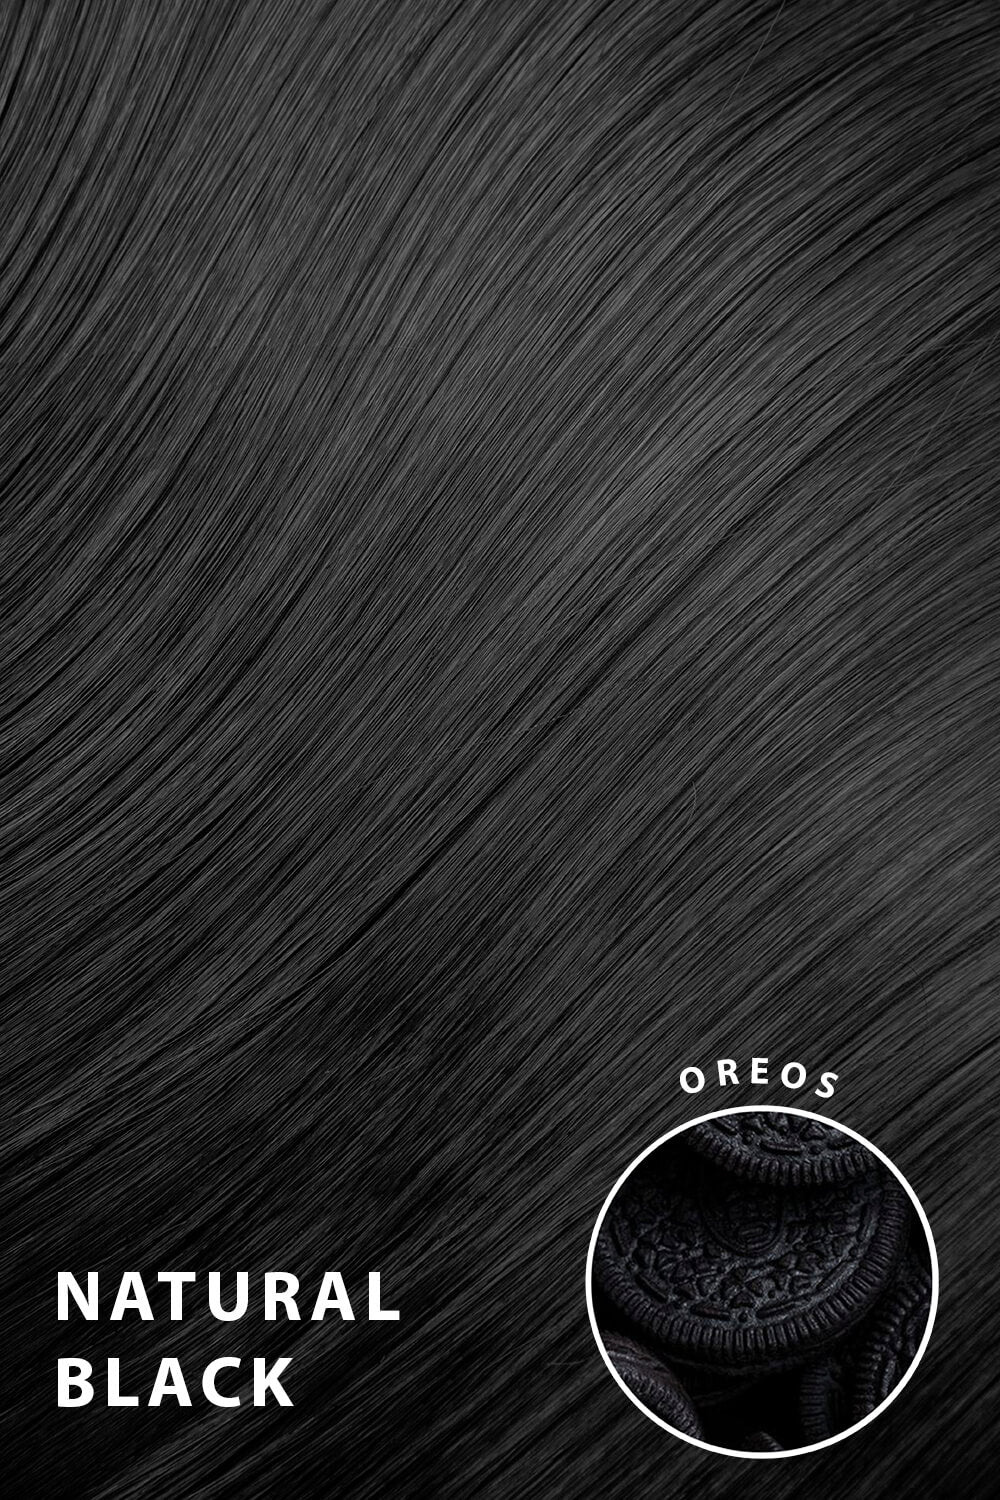
natürliches schwarz
Selected Shade de:
kalifornische blonde
Pre-styled, no commitment INSTANT fringe
Ideal for wearing in both up and down styles
No cutting required here, girls
Die Abholverfügbarkeit konnte nicht geladen werden
Sehen Sie es in Aktion
Produktdetails
Sie haben (viel!) danach gefragt und wir haben geliefert … der Clip-in-Pony ist zurück und wir haben ihn SO viel besser gemacht.
Verwandeln Sie Ihren Look in Sekundenschnelle mit unserem gefiederten Pony zum Anklipsen. Dieser vorgeschnittene Pony aus hochwertigem Kunsthaar lässt sich einfach anklipsen und los geht‘s. So erhalten Sie in etwa fünf Sekunden einen unverbindlichen Pony-Look (nein, wirklich, es ist so schnell und einfach!).
Was Sie wissen müssen:
- Vorgestylter, unverbindlicher SOFORT-Pony
- Es ist absolut kein Schneiden erforderlich - wir sagen sofort, wir meinen SOFORT
- Ideal zum Tragen sowohl hochgesteckter als auch offener Frisuren
- Die beiden längeren Vorderteile helfen Ihnen, den Pony mühelos zu verblenden
- Gewicht - 14g
So bewerben Sie sich
Step 1: Prepare Your Hair
Start with Clean, Dry Hair: Make sure your hair is clean and completely dry.
Style Your Hair: Style your hair as you normally would. If you plan to wear your hair up or down in a specific style, do that before attaching the fringe.
Step 2: Position the Fringe
Decide on the Placement: Hold the clip-in fringe up to your forehead and decide where you want it to sit. The fringe should blend naturally with your hairline, typically starting about an inch back from your natural hairline.
Centre the Fringe: Center the hairpiece so that it aligns with the middle of your forehead. This helps create a balanced, natural look.
Step 3: Secure the Fringe
Open the Clips: Open the clip on the hairpiece.
Attach the Clip: Position the fringe where you want it and secure the clip. Slide the clip into your hair and snap it shut to secure it.
Ensure that the fringe feels secure but not too tight.
Step 4: Blend the Fringe with Your Natural Hair
Comb the Fringe with comb or your fingers to blend the clip-in fringe with your natural hair. Make sure there are no visible gaps or seams.
Style as Needed: You may need to style the fringe with your fingers to ensure it blends or you get the look you desire.
Secure with Hairspray (Optional): If you want extra hold, use a light mist of hairspray to keep the fringe in place throughout the day.
Step 6: Enjoy Your New Look!
You're all set!
Lieferung und Rücksendungen
UK Delivery Options:
Free Standard UK Delivery on Orders over £30
Free Next Day UK Delivery on Orders over £35
Royal Mail 48 - £2.95
Royal Mail 24 (Order before 9pm Mon-Fri) - £3.95
DPD Next Day Guaranteed Delivery By 1pm (Order before 6pm Mon-Fri) - £5.95
EU Zone 1 & 2 Delivery Options:
EU Zone 1 (5-10 Working Days) - £6.95
EU Zone 2 (5-10 Working Days) - £9.95
Check out our Delivery Policy for more details and a full breakdown of EU zone countries.
Important Note on EU Orders: Orders over EUR150, LullaBellz will NOT cover custom charges. Orders under EUR150, LullaBellz will cover custom charges.
Rest of World Tracked (5-10 Working Days) - £12.95
RETURNS:
We do not offer exchanges; however, items can be returned to LullaBellz within 14 days for a refund with the exception of our Hair Care Products.
LullaBellz Hair Care products are non-returnable due to hygiene reasons, this includes our Shampoo & Conditioner, Slick & Fix Styling Gel & Slick Back Down Baby Hair Styler.
Check out our Returns Policy for more details.
